REVIEW · JOKULSARLON
From Jökulsárlón: Crystal Blue Ice Cave Super Jeep Tour
Book on GetYourGuide →Operated by Troll .is · Bookable on GetYourGuide
Blue ice under your boots never gets old. This Jökulsárlón-to-glacier Super Jeep outing brings you into a real Crystal-blue Ice Cave with a certified glacier guide, so you’re not just sightseeing—you’re learning how the glacier shapes itself.
I especially like the way the guide reads the ice for you. You’ll hear what all those features mean: stretching walls, compression bands, meltwater channels, and air bubbles trapped for centuries.
One trade-off: at $176, you’re paying a premium for a short, weather-dependent window—and some days the ice won’t look quite as electric blue as you hoped.
In This Review
- Key things I’d highlight before you go
- Jökulsárlón to Breiðamerkurjökull: the ride sets up the magic
- Super Jeep transport: off-road fun, with one practical warning
- Gear and safety: what’s included and what you still need to bring
- Getting into the cave: 30–45 minutes that feel like a time warp
- Inside the Crystal Blue: what you’ll actually notice
- Why the guide stories make this worth the premium
- Photography in low light: how to plan without stressing
- The return: pause for glacier views and iceberg reflections
- Time on the clock: how to set expectations for a 3-hour tour
- Price and value: what $176 buys you (and what it doesn’t)
- Who should book this ice cave tour from Jökulsárlón
- Should you book it from Jökulsárlón?
- FAQ
- Where does the tour start?
- How long is the tour?
- Is there a guide with you?
- What equipment is included for the glacier?
- How much time do you spend inside the ice cave?
- What should I bring for this tour?
- Is the ice cave always crystal blue?
- Does the tour depend on weather?
- Is this tour suitable for young children?
- What are the cancellation and booking options?
Key things I’d highlight before you go
- Certified glacier guides explain what you’re seeing, not just where to walk
- Crampons, helmet, gloves, and walking poles are included, which makes the glacier part feel doable
- 30–45 minutes inside the cave gives you time to pause, breathe, and photograph
- Super Jeep rides add the off-road thrill on the way to Breiðamerkurjökull
- The exact cave can change day to day, so the color and size can vary
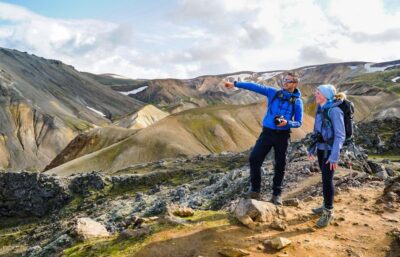
Jökulsárlón to Breiðamerkurjökull: the ride sets up the magic
You start at Jökulsárlón Glacier Lagoon, one of Iceland’s easiest places to feel the scale of ice. The water is full of icebergs, and that’s a good mental warm-up before you step onto the glacier itself. You’re already looking at glacial leftovers; the tour turns that into a hands-on, feet-first experience.
From there, the drive is part of the point. Vatnajökull National Park is big, and the glacier caves aren’t right next door. A Super Jeep route helps you get away from the paved world and into the real “this is Iceland” feeling fast.
The best part is how the experience escalates. It goes from lagoon views, to off-road travel, to the moment you’re gearing up at the glacier edge. Then the cave interior does the final job: it’s quiet, close, and unreal.
You can also read our reviews of more tours and experiences in Jokulsarlon.
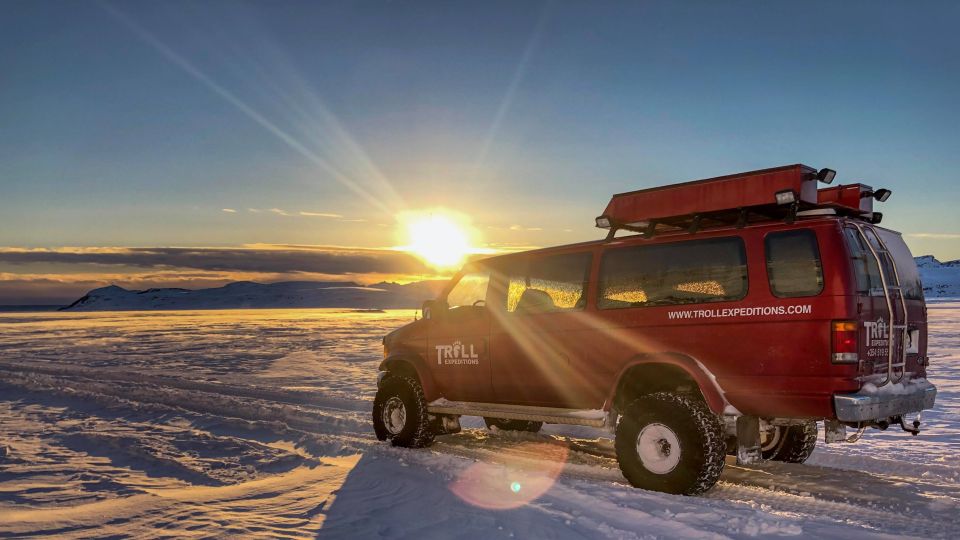
Super Jeep transport: off-road fun, with one practical warning
The tour is built around Super Jeep transport, which usually means you’ll bounce and rumble across uneven ground instead of gliding down a smooth road. Expect a ride that feels like a thrill, especially if you like weather and roads that don’t pretend to be civilized.
Do pack for the ride, not just the cave. Cold wind, wet air, and occasional spray can happen. If you’re prone to motion sickness, treat that seriously—some people find the jeep ride quite bumpy.
Also, keep this in mind: the activity is marketed as a Super Jeep. Still, operations can vary on the day (one traveler reported being put into a different vehicle than expected). If vehicle type matters to you, I’d confirm the day-of transport with the operator.
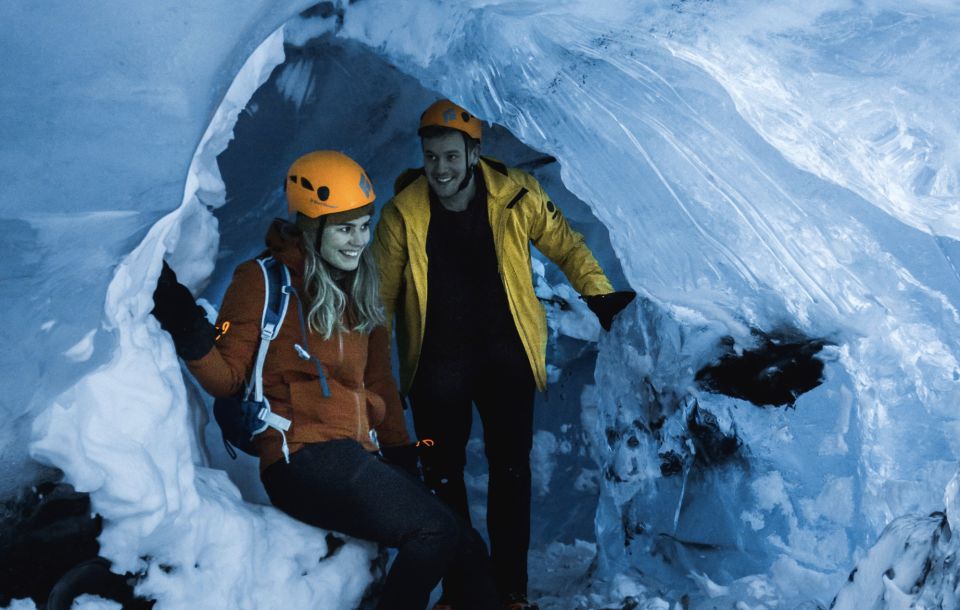
Gear and safety: what’s included and what you still need to bring
This is one of the reasons the tour works for first-timers. You don’t have to figure out glacier gear at the last minute. The tour provides essential equipment: crampons, a helmet, gloves, and walking poles. You’ll also get a safety briefing before you head in.
That gear matters because ice cave walking is not normal hiking. Even when the glacier path is short, the ground is uneven and slippery. Crampons help your feet grip; poles help you keep balance while you move slowly and carefully.
You’ll still want to bring your own comfort items:
- Sturdy hiking boots
- Warm thermal layers
- A waterproof outer shell
- Rain gear (yes, even in winter)
- A camera with extra batteries
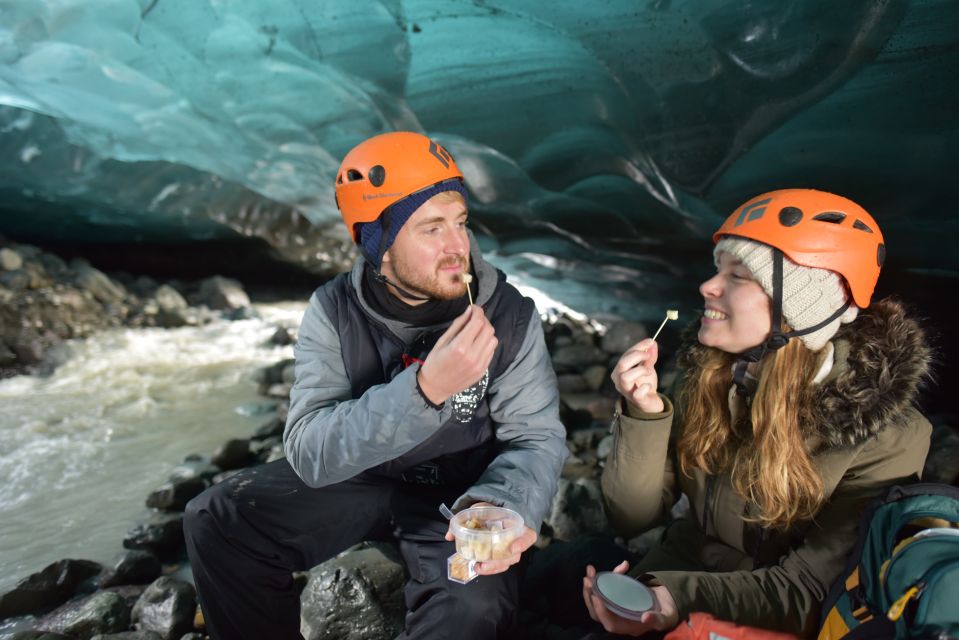
- A light snack and water (recommended)
The cold inside the cave can feel sharper than you expect. If you run hot, you can dress lighter; if you run cold, dress warmer than you think. It’s one of those tours where staying comfortable keeps the fun high.
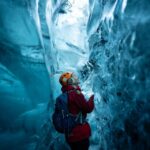
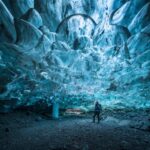
Getting into the cave: 30–45 minutes that feel like a time warp
Once you reach Breiðamerkurjökull, you’ll walk onto the glacier and into your ice cave visit with your guide. The time inside is planned to be meaningful: about 30–45 minutes underground.
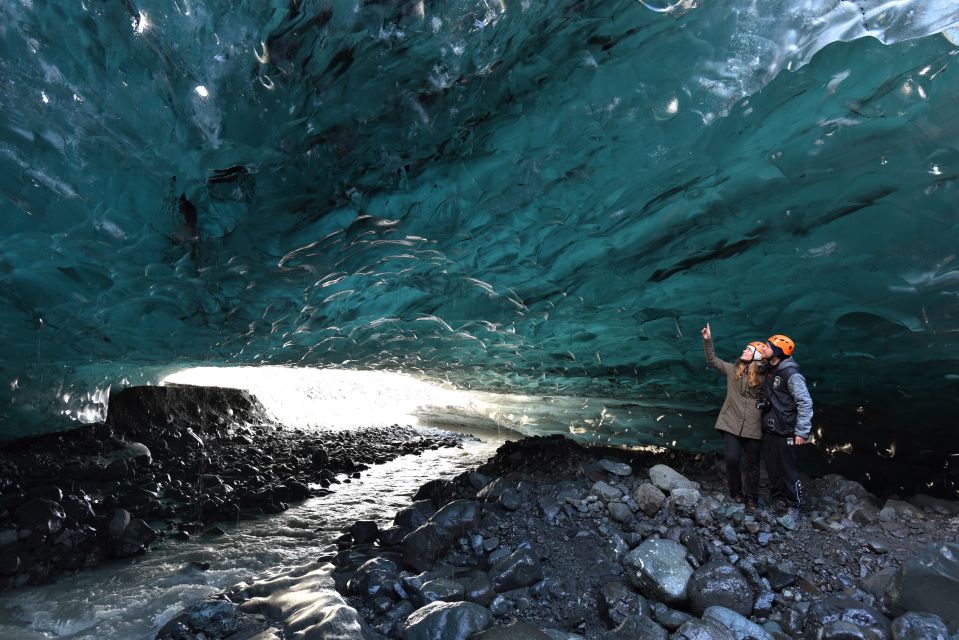
During that window, you’re not just moving through. You’re meant to look. The cave colors and textures tend to shift with your angle and the light. One person might describe the ice as electric; another might see it as deeper and darker. That’s not a contradiction—it’s how caves work.
You’ll also get help finding photo angles. Guides often point out the spots where light hits the ice best, and they may help with camera settings in low light. Some groups also get a group shot taken by the guide, which is a nice touch when conditions are dim and hands are cold.
If the cave you enter isn’t the one you imagined from photos, don’t panic. The tour is flexible because glaciers constantly change, and the “best available and safest” cave wins that day.
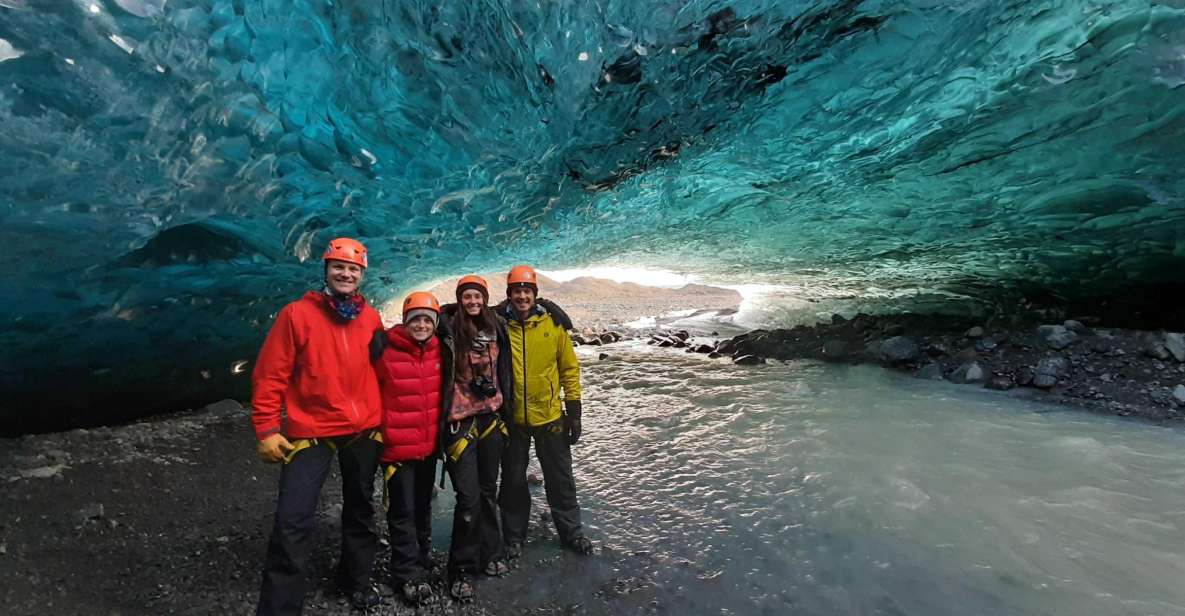
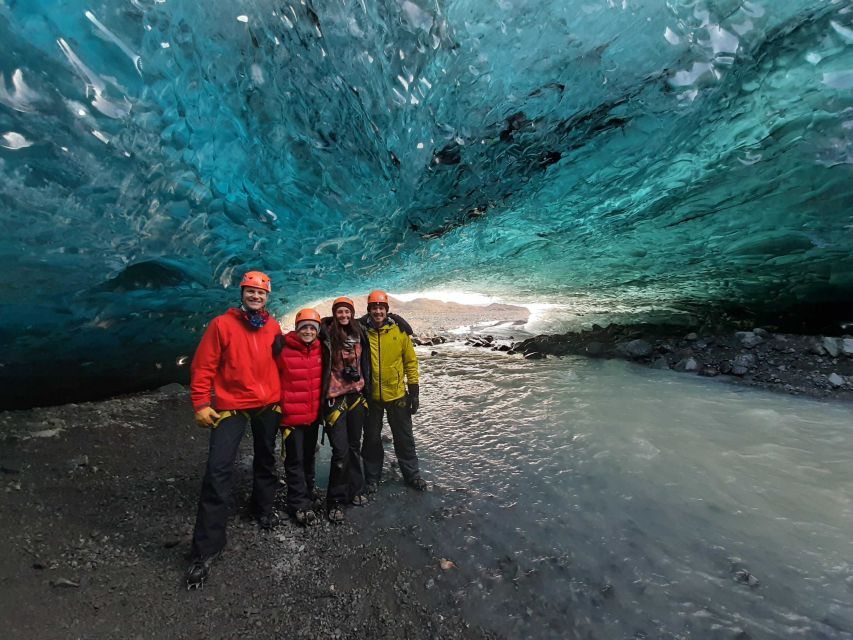
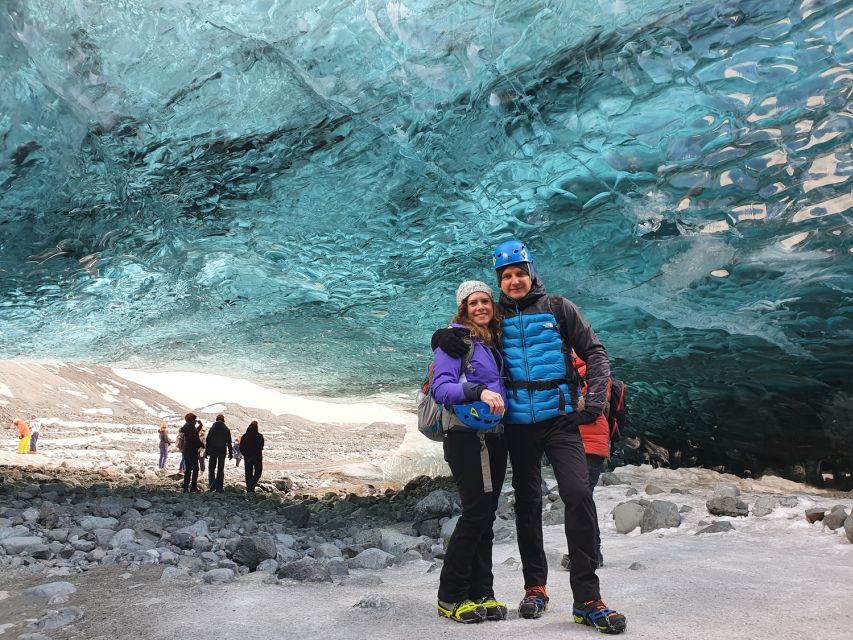
Inside the Crystal Blue: what you’ll actually notice
The headline is obvious: blue ice that looks like it shouldn’t exist. But the real wow is in the details the guide helps you see.
As you walk, your guide will translate the cave’s features into real glacier processes, like:
- Stretching walls formed by movement through the ice
- Ancient compression bands where the ice has been squeezed over time
- Meltwater channels that hint at seasonal changes
- Air bubbles trapped for centuries
This is where the tour feels more than a photo stop. When you understand why the cave has ridges, hollows, and layers, you start looking at it like geology instead of decoration.
Also, the ice tone can change. The tour may pick a cave based on what’s accessible and safe that day, and some caves are more vividly blue than others. Weather and conditions matter too, and sometimes rain or melting can wash away surface grime, bringing out more of that bright blue you came for.
Why the guide stories make this worth the premium
Glacier tours can be hit-or-miss if you’re stuck with a guide who reads off a poster. This one leans hard the other direction: trained glacier specialists with a deep focus on explanation.
In the guide talk, you’ll connect the ice to bigger forces. The guide’s job is to connect what you see right now to the glacier’s slow flow, seasonal shifts, and even volcanic activity as an ingredient in how ice features form. That context changes your mindset. You stop thinking of the cave as a one-time scene and start thinking of it as a living system.
Guide names you may hear in this operation include David, Benny, Tom, AJ, Rainer, Gadar, Johann, Thorty, and Aðalsteinn. Whoever you get, the goal stays the same: you leave understanding the ice at a level that makes the photos feel earned.
Photography in low light: how to plan without stressing
Ice caves are dark enough that your phone may struggle. Your best results usually come from simple planning: keep your camera ready, protect it from cold, and don’t fight the conditions.
Here are the practical things that help:
- Bring extra batteries (cold drains them fast)
- Use a tight strap and keep your gear secure while wearing gloves
- Expect to shoot through moments where your guide directs you to better angles
- Ask for quick camera tips if you’re unsure—guides often help with settings for low light
The cave itself creates rare light effects: pale blue walls, shadowed textures, and glowing ice edges where the light hits just right. If you’re aiming for those “wow” images, the guide’s vantage-point suggestions can make a bigger difference than any fancy gadget.
And if your group photo is important to you, plan to let the guide help. Cold hands plus dim conditions are not the best combo for camera-timing.
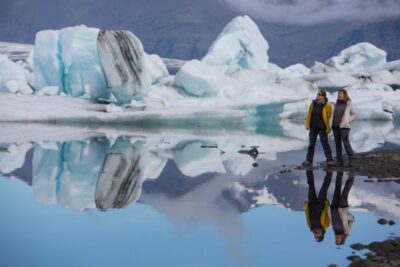
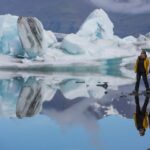
The return: pause for glacier views and iceberg reflections
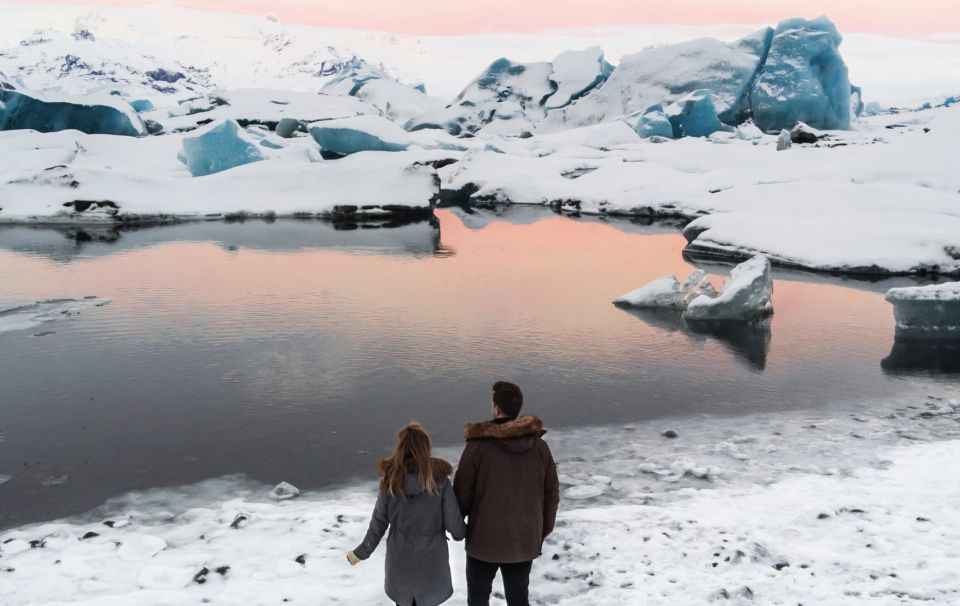
After the cave visit, you climb back onto the glacier surface and ride back toward the lagoon. This is where the tour gives you a second taste of “Iceland is not normal.”
On the way back, the guide typically pauses at viewpoints for wide views: the glacier, dramatic icebergs, and reflections across glacial water. It’s not just a drive-by. Those stops help your brain reset from the cave intensity.
You’ll arrive back near the starting point with a different kind of memory. The lagoon images you saw at the start turn into something richer. Now you know where that ice story is coming from.
Time on the clock: how to set expectations for a 3-hour tour
This is marketed as a 3-hour experience, and much of that time is real motion: jeep travel plus the cave visit. The cave time itself is planned (around 30–45 minutes), so you’re getting an actual interior experience, not a quick peek.
Still, keep a few timing realities in mind:
- Off-road travel can take longer if roads are rough or weather changes
- There may be extra walking between the vehicle and the cave area
- The cave visit itself can be prioritized for safety and flow, which may affect how long you stand in one exact spot
Some people describe needing more time than they expect on the glacier walk and around the cave. If you’re the kind of person who hates any rush at all, I’d lean toward picking the calmest weather window you can—morning often feels brighter and more comfortable for photography, if conditions cooperate.
Price and value: what $176 buys you (and what it doesn’t)
Let’s talk money honestly. $176 isn’t “cheap Iceland.” This cost covers the things that are hard to DIY safely: certified glacier guiding, glacier gear, and the Super Jeep transport from Jökulsárlón up to Breiðamerkurjökull.
So you’re paying for:
- Safety and equipment (crampons, helmet, gloves, poles)
- A trained guide who explains the glacier
- Vehicle transport that gets you where normal vehicles don’t
- A real walk inside an ice cave with time to photograph
What you’re not buying is endless cave time. This is a focused, short outing. If your main goal is maximizing time underground, you may feel the window is brief.
And if your top expectation is crystal-blue ice in every frame, you should know the cave can vary. Sometimes it’s not as vivid as the dream images—because nature decides what’s stable and accessible on that day.
Who should book this ice cave tour from Jökulsárlón
This tour fits best if you want a guided glacier experience and you don’t want to handle gear or route planning yourself.
You’ll likely enjoy it if you:
- Want a first-time glacier walk with safety support
- Care about understanding what you’re seeing, not just taking photos
- Like off-road travel and can handle bumpy rides
- Visit in winter and want one of Iceland’s most famous ice experiences
It’s not suitable for children under 6. For kids who are older and comfortable in cold weather and on uneven ice, the tour can work well, especially with a patient guide and good layering.
Avoid this if you have strong mobility limits or if very cold, slippery conditions make you anxious. You’ll still be moving carefully, and the glacier environment is not like a museum floor.
Should you book it from Jökulsárlón?
If you’re choosing between a quick stop and a real ice-cave walk, I’d book this. The combination of certified guiding, included glacier gear, and time inside the cave makes it feel like a complete experience rather than a drive-through.
But book with the right mindset. The ice color can vary, the cave you enter can change based on what’s safest that day, and the total time underground is limited by design. If that sounds fine, you’ll leave with images that don’t look real—and with glacier explanations that stick.
FAQ
Where does the tour start?
It starts in Jökulsárlón Glacier Lagoon, meeting at the parking lot at Tröll Expeditions. You should arrive about 15 minutes early.
How long is the tour?
The duration is listed as 3 hours.
Is there a guide with you?
Yes. The tour includes a certified glacier guide, and the tour is conducted in English.
What equipment is included for the glacier?
You’ll be provided with glacier gear including crampons, a helmet, gloves, and walking poles.
How much time do you spend inside the ice cave?
You should expect about 30–45 minutes inside the ice cave.
What should I bring for this tour?
Bring warm clothing, thermal layers, sturdy hiking boots, a waterproof outer shell, rain gear, and your camera (plus extra batteries). A light snack and water are recommended.
Is the ice cave always crystal blue?
Not necessarily. The specific cave can vary day to day, and some are more vividly blue than others.
Does the tour depend on weather?
Yes. The tour depends on weather and natural factors, and it may be modified or cancelled if conditions are considered unsafe by National Park authorities.
Is this tour suitable for young children?
No. It’s not suitable for children under 6.
What are the cancellation and booking options?
You can cancel up to 24 hours in advance for a full refund. You can also reserve and pay later.