REVIEW · VIK
Sólheimajökull Glacier Hike Adventure
Book on Viator →Operated by Arctic Yeti · Bookable on Viator
Ice under your boots at Sólheimajökull. This glacier hike is led by a certified glacier guide who fits you with crampons and walks you through how to use an ice axe before you step onto the ice. It also runs as a small group (up to 12), so you get more attention and less standing around, with guides like Lucas bringing the learning to life.
I also love how the guide connects what you see up close—crevasses, ice formations, and the glacier’s darker ash layers tied to the 2010 eruption—to what’s happening below the surface. You can get guidance in English and Spanish, which makes it easier to understand safety cues and glacier stories. One consideration: this experience needs good weather, and warm clothing, rain gear, and hiking boots are not included, so come prepared.
In This Review
- Key highlights before you go
- What you actually do on Sólheimajökull (and how safety works)
- The value of a max 12-person group
- Crampons, ice axe, and the moves you’ll want to remember
- Ice features you’ll notice up close (crevasses, formations, and ash)
- Timing and pace: what a 3-hour glacier hike feels like
- Price and value: is $100 worth it?
- What to bring (and what not to forget) so you stay comfortable
- Language and guides: English, Spanish, and names that come up
- Weather matters more than you think
- Should you book this Sólheimajökull Glacier Hike?
- FAQ
- How long is the Sólheimajökull Glacier Hike Adventure?
- Where do we meet for the glacier hike?
- What’s included in the price?
- What language options are available?
- What should I bring?
- What if the weather is bad or I need to cancel?
Key highlights before you go
- Small group max of 12 keeps the experience personal and safer on the ice
- Certified glacier guide + all safety gear means you learn the tools, not just the photos
- English and Spanish guidance helps you follow instructions fast
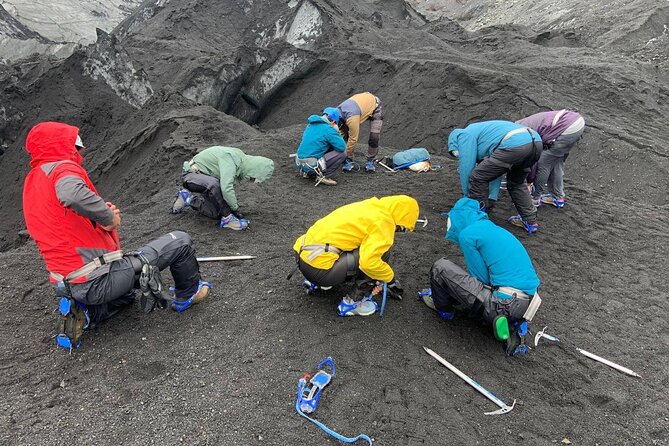
- Crampon and ice axe training happens before you walk on the glacier
- 3 hours on Sólheimajökull with time to spot dramatic ice features and take pictures
What you actually do on Sólheimajökull (and how safety works)
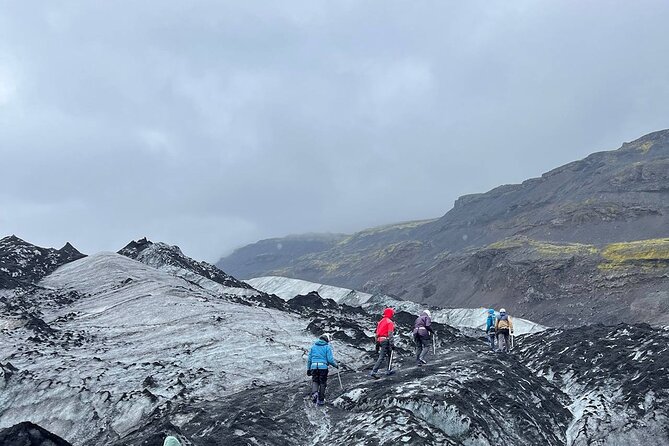
This is a glacier hike, not a sightseeing drive-by. You meet at the Sólheimajökull glacier parking lot (221, 871, Iceland), gear up, and then walk onto the ice with a guide who knows how to manage the pace and the risks.
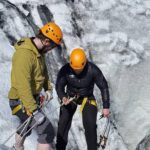
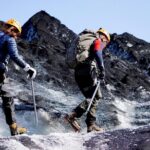
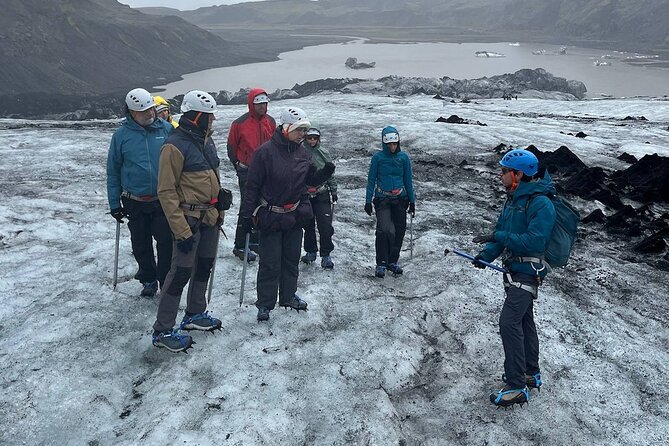
Before you head out, you’ll be fitted with the necessary gear and shown how to use it. That usually means a clear, hands-on demo of crampons (the spikes that help you grip) and an introduction to the ice axe. The point isn’t to make you feel technical. It’s to make you feel steady—so your brain can focus on the view and the weird beauty of the glacier.
As you move across the ice, expect the guide to teach you what you’re looking at: how the glacier forms, how it changes over time, and how climate affects what you see. This matters because ice can be deceptive. Looking at a flat-looking section from a distance is not the same as being on it, so you’ll get real-world context while you’re there.
You can also read our reviews of more hiking tours in Vik

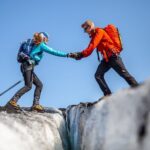
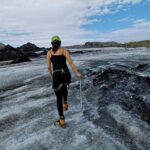
The value of a max 12-person group
I like tours that keep the group small, especially on ice. With a maximum of 12 travelers, the guide can slow down for questions, correct your footing quickly, and keep everyone together without turning the hike into a long line.
That size also affects the vibe. You’re not just herded forward. You’re walking with a handful of people who want the same thing you do: a real glacier experience, not a quick stamp-and-go. In practical terms, this is where you get faster safety feedback and more time to stop and look at the ice details.
You also get that nice balance of structure plus freedom. You’ll follow the guide’s route and rules, but you’re not being rushed like a bus tour.
Crampons, ice axe, and the moves you’ll want to remember
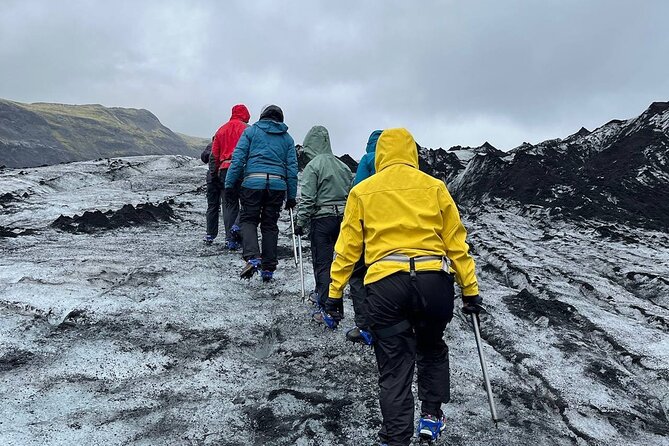
Even if you hike a lot, stepping onto a glacier is a different sport. The tour starts by setting you up so you can walk confidently.
Here’s what you should expect to learn:
- how crampons sit on your boots and how to keep your steps controlled
- how to handle an ice axe in a way that supports balance and stability
- basic glacier walking behavior (spacing, where to look, and how to respond to the guide’s cues)
The goal is simple: you should know what to do with your feet, your balance, and your attention. Once that clicks, the glacier gets more fun. A few guide-led details also help you avoid the common frustration of freezing your brain and staring only at the ground. After you get your footing sorted, you can start noticing crevasses, ice shapes, and the patterns that make Sólheimajökull so photogenic.
One good sign from past experiences: people consistently describe feeling safe and comfortable on the ice with experienced professionals guiding the process.
Ice features you’ll notice up close (crevasses, formations, and ash)
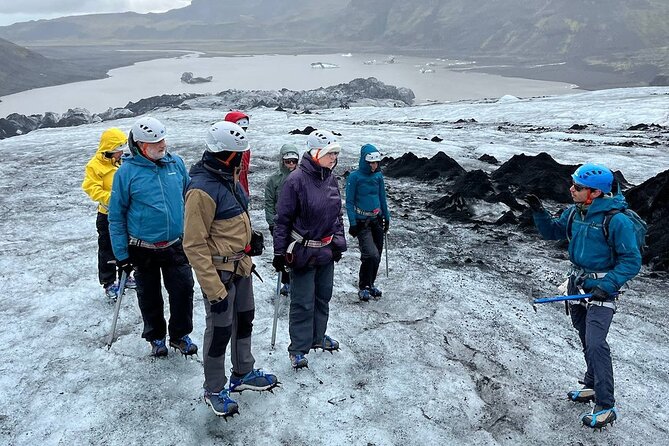
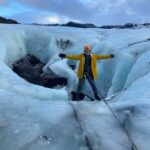
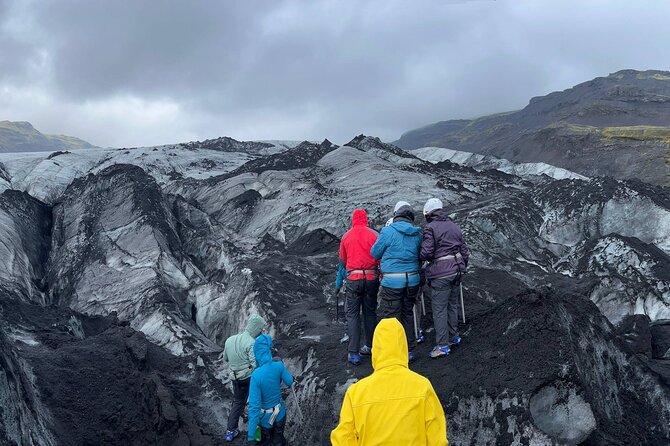
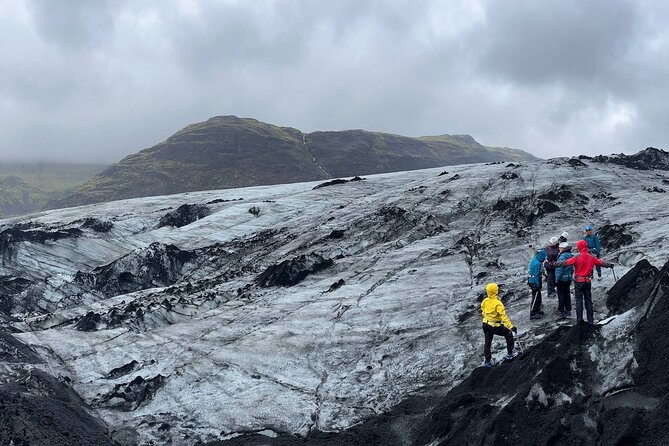
Sólheimajökull is famous for a reason: it looks like a different world. Up close, you’ll see deep crevasses and ice formations that don’t behave like “normal” rocks. The ice can look sculpted, layered, and almost liquid—until you notice the scale and the hardness.
There’s also a special detail tied to this glacier: the darker ash layer associated with the 2010 volcanic eruption. That contrast is what makes some sections feel even more unique compared to bluer ice you might imagine. It gives the whole walk an extra story, and it’s the kind of detail a good guide can explain without turning it into a lecture.
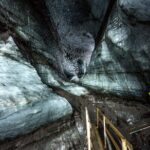
If you’re the type who likes to photograph details, this tour can deliver. Expect natural stopping points where you can pause for photos and really look at the ice texture. Reviews also mention ice cave experiences inside the glacier, so if a cave stop is part of your day’s route, you’ll want to pay attention to how the guide manages access and safety around it.
Timing and pace: what a 3-hour glacier hike feels like
The tour runs about 3 hours total, and it tends to feel manageable for most people who can handle a hike on uneven terrain. The exertion is often described as almost low, but don’t confuse that with “easy.” Glacier walking is mostly about careful steps, not high speed.
A typical flow looks like this:
- meet at the parking lot and gear up
- crampon/ice axe instruction
- walk onto the glacier
- explore ice formations, crevasses, and viewpoints
- return back to the meeting point
The “explore” portion is where the time disappears in a good way. You’re moving, stopping, learning, and taking photos. You’ll also pick up glacier facts as you go, like how ice moves and why that matters for the safety around crevasses.
Some experiences even include an extra surprise break partway through the outing (described as a deli-style surprise). It’s not something you should count on as a promise, but it’s the kind of thoughtful touch that makes a small-group tour feel more than just transportation to the glacier.


Price and value: is $100 worth it?
At $100 for about 3 hours, the value depends on what you’d otherwise do to get onto a glacier safely. The tour cost includes:
- a certified glacier guide
- all required safety equipment
- specialized glacier gear
- guided hiking in English and Spanish
- a small group guarantee (max 1:12)
What you don’t get is mostly the clothing and snacks. You bring boots/clothing, and you handle your own food and water. That means the price is focused on the hardest part: getting you equipped and supervised on a real glacier environment.
If you compare this to glacier tours where the “gear” is basically a vest and you still struggle with crampons, this one’s value comes from the guidance plus the gear setup. You’re paying for safety instruction, not just access.
Also, a small group helps justify the cost. You’re less likely to get stuck waiting while a big group figures out gear fit or queues on the ice.
What to bring (and what not to forget) so you stay comfortable
The tour provides the safety equipment, but you provide the comfort and clothing. The most important items:
- high-ankle hiking boots (this is specifically called out as needed)
- gloves
- sunglasses
- warm clothing and rain gear (not included)
A big practical tip: don’t show up in “almost hiking” shoes. Boots with proper ankle support make a difference once you’re on crampons and walking on uneven ice.
Also think about layers. Iceland weather changes fast, and the glacier environment adds wind exposure. Even if the day starts mild, you can still end up cold. Bring clothing that you can layer and adjust, and pack rain protection even when the sky looks cooperative.
Finally, snacks and drinks are not included. If you get hungry, you’ll want your own plan.
Language and guides: English, Spanish, and names that come up
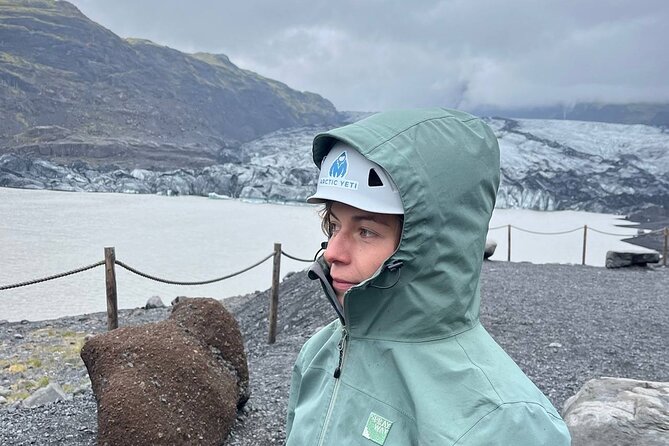
This is guided in English and Spanish, and it really helps. Safety cues and glacier explanations land better when you can understand every instruction without straining.
Guides you might hear about include Lucas (who is described as friendly, passionate about the work, and great at glacier curiosity storytelling). Another name that comes up in past experiences is Manuel, also described as excellent in organization and training. Even if you don’t get those exact guides, the important thing is that the instruction is hands-on and geared toward confidence on the ice.
Weather matters more than you think
This experience requires good weather. That’s not a casual line. Glacier conditions can change quickly, and guides need safe visibility and surface conditions to manage the group.
The good news is that if the tour is canceled due to poor weather, you’ll be offered another date or a full refund. The smarter move is to avoid booking this as your only “must-do” glacier slot. If you can, build flexibility into your Vik day so you’re not stuck hoping the forecast cooperates.
Should you book this Sólheimajökull Glacier Hike?
Book it if you want:
- real glacier walking (not just a viewpoint)
- a certified guide who teaches crampons and ice axe use
- a small-group pace that keeps you involved
- the chance to see striking ice features and learn why Sólheimajökull looks the way it does, including the ash layer angle
Consider skipping or rescheduling if:
- you’re not comfortable with cold conditions and you don’t have proper boots/gloves/warm layers
- you’re expecting a totally effortless walk with no careful footing
- your schedule doesn’t allow flexibility for weather changes
This is one of those Iceland activities that pays back the effort. You trade comfort (you’ll be outside in real weather) for a chance to walk on a glacier where safety training and guide storytelling turn the ice into something you understand, not just something you stare at.
FAQ
How long is the Sólheimajökull Glacier Hike Adventure?
The tour lasts about 3 hours.
Where do we meet for the glacier hike?
You meet at the Sólheimajökull glacier parking lot (221, 871, Iceland). The activity ends back at the same meeting point.
What’s included in the price?
The tour includes a certified glacier guide, all required safety equipment, specialized glacier gear, and a guided glacier hike in English and Spanish. It also has a small group guarantee with a maximum of 12 travelers.
What language options are available?
The guided hike is offered in English and Spanish.
What should I bring?
Bring high-ankle hiking boots and gloves, plus sunglasses. Hiking boots, rain gear, warm clothing, and snacks and drinks are not included.
What if the weather is bad or I need to cancel?
The experience requires good weather. If it’s canceled due to poor weather, you’ll be offered a different date or a full refund. You can cancel up to 24 hours in advance for a full refund; within 24 hours, refunds aren’t available.