REVIEW · VIK
Sólheimajökull: Guided Glacier Hike
Book on GetYourGuide →Operated by ICELANDIA · Bookable on GetYourGuide
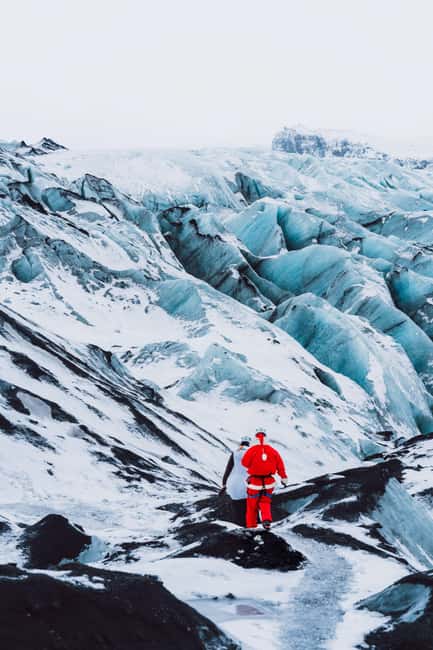
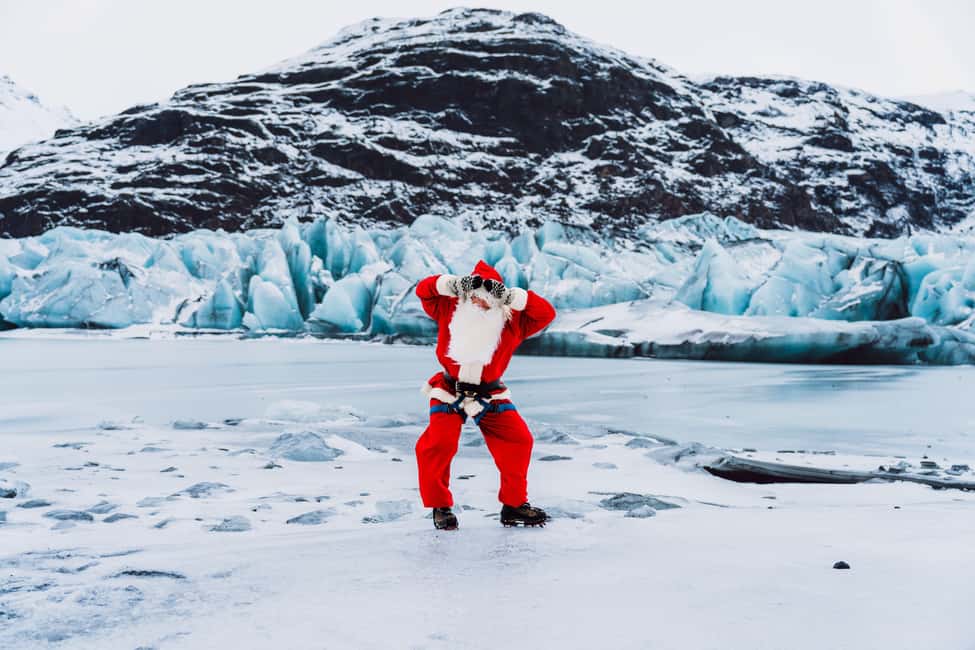
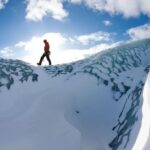
A glacier hike is thrilling, even when you’re cautious. This one puts you on Sólheimajökull with real glacier gear and a guide who makes safety feel normal. I love the close-up ice features—bright blue crevasses and those dramatic ice holes/tunnels—and I love the way guides turn a walk onto the ice into a simple lesson you can actually remember. The main drawback to plan for is weather: you’ll want proper rain gear and warm layers, because the ice walk can feel cold fast.
You’ll start with a gear check, then walk from the base area to the glacier edge, and finally step onto the ice with crampons and ice axes. You’ll hear clear instructions, and you’ll also get stories from guides like Ellie, Sam, Lasse, Jon, and Sophia—names that show up again and again because people felt well looked after.
Before you go, pick the right version of the hike for your group. The tour offers options from family-friendly walks to longer, more adventurous treks, so the “best” choice depends on how much time you want on the ice.
In This Review
- Key things that make this glacier hike worth your time
- Getting to Sólheimajökull: what the meeting area means for your day
- Gear-up at basecamp: crampons, helmets, and a confidence boost
- Walking to the glacier edge: where anticipation turns into calm focus
- On the glacier: crevasses, ridges, and moulins you can actually see
- Picking your hike option: family walk vs classic hike vs longer trek
- A realistic view of difficulty: not technical, but it’s still the ice
- The value of the $115 price: what you’re really paying for
- Timing, weather, and what to wear so you don’t suffer
- Small group dynamics: why up to 12 matters on the ice
- Who should book this Sólheimajökull hike
- Guides you’ll remember: clarity, confidence, and humor on the ice
- Should you book this Sólheimajökull Glacier Hike?
- FAQ
- How long is the Sólheimajökull guided glacier hike?
- Where does the tour start?
- How far is the meeting point from Vik?
- What’s included in the price?
- Is food included?
- What language is the tour guide?
- How big are the groups?
- What do I need to bring?
- Can I rent rain gear or hiking boots?
- Is there free cancellation?
- Can I reserve now and pay later?
Key things that make this glacier hike worth your time
- Small group (up to 12 people): you get more personal attention on the ice.
- Safety gear is included: crampons, helmets, and ice axes mean you’re not improvising.
- You’ll see real glacier features: crevasses, ice ridges, and moulins form as the glacier moves and melts.
- Guides bring the ice to life: you learn how glaciers shape land and how climate change affects them.
- Tea, coffee, and water included: a small comfort before or after your walk.
- You’re 25 minutes from Vik: an easy add-on from a popular base in the south.
Getting to Sólheimajökull: what the meeting area means for your day
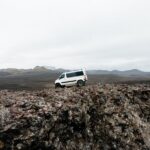
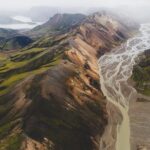
This hike runs from a basecamp at Sólheimajökull Glacier, with the meeting point varying by option. If you’re staying around Vik, you’re looking at about a 25-minute drive to get to the start area.
That matters because it’s one of those day trips that doesn’t swallow your whole schedule. In the south of Iceland, you can stack activities, but glacier hikes are weather-sensitive—so having a relatively short drive helps you stay flexible if conditions shift.
Also, Sólheimajökull is close enough to road access that you don’t need to plan your whole trip around logistics. You just need the right clothing and shoes, and you’ll be good.
You can also read our reviews of more guided tours in Vik

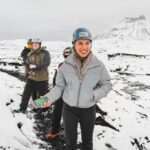
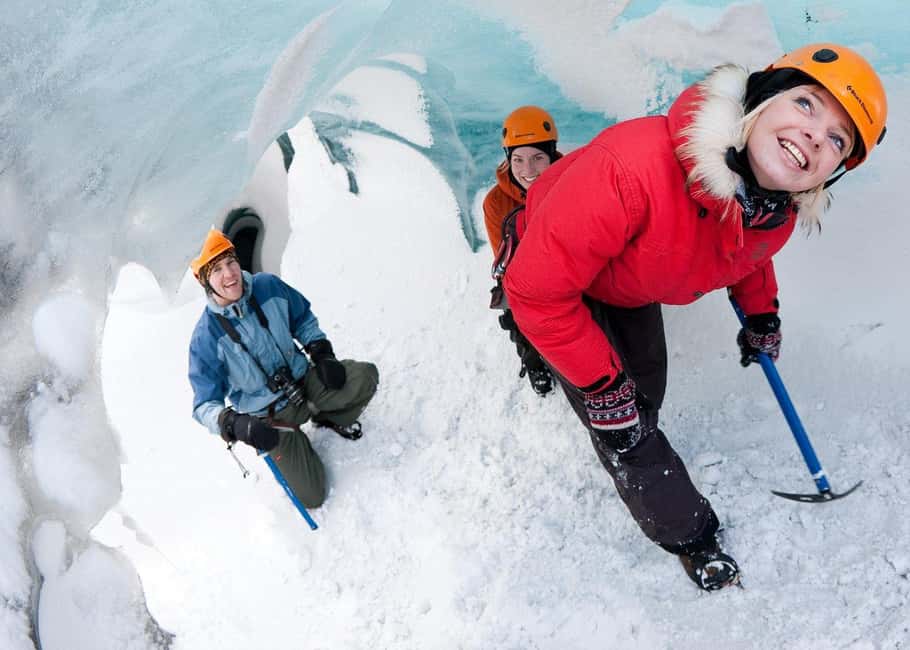
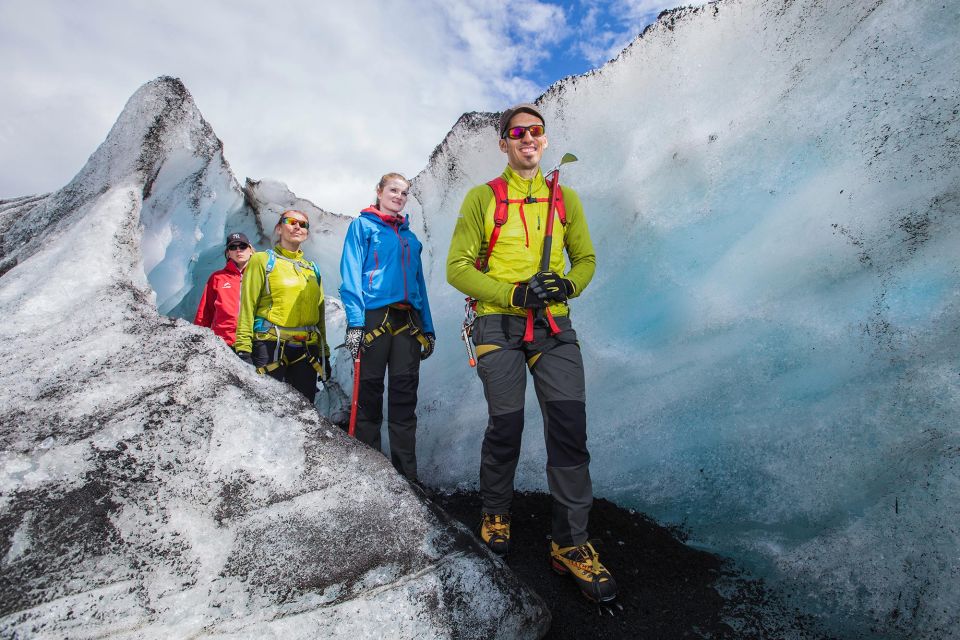
Gear-up at basecamp: crampons, helmets, and a confidence boost
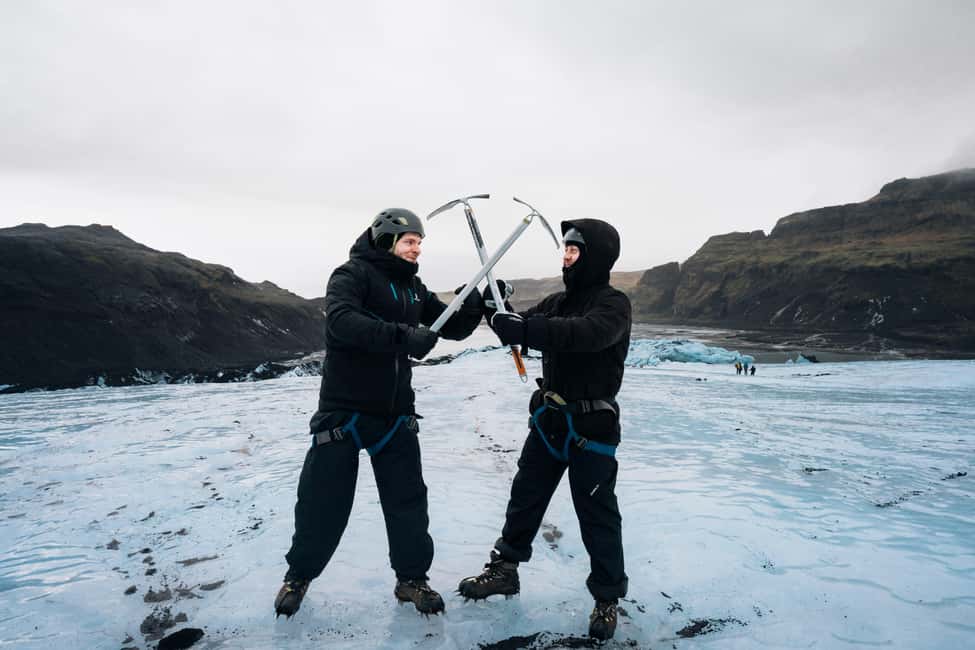
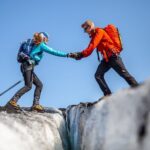
Your tour begins with meeting your certified glacier guide and getting equipped. You’ll put on crampons, and you’ll use helmet and ice axes as part of the guided walk on snow and ice. Even if you’ve never worn gear like this, you won’t be left to figure it out on your own.
The best part here is how the guides teach the essentials. People consistently mention clear, simple instructions, and they also highlight how confident the guide feels on the ice. That’s more than nice to hear—it changes the whole vibe once you’re standing on uneven glacier ground.
If you don’t have the right footwear or rain gear, you might find rentals available on site. You still want to arrive with a plan: warm layers, hiking shoes, and rain gear if you have them. Gloves can make a difference too, but the info provided specifically calls out warm clothing, hiking shoes, and rain gear—so treat those as your must-pack list.
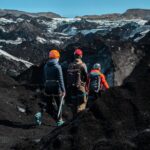
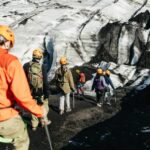
Walking to the glacier edge: where anticipation turns into calm focus
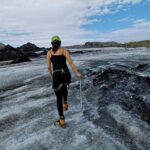
After a short walk from the base area to the glacier edge, your guide leads you onto the ice. This stretch is important because it’s the transition moment—your brain goes from thinking about views to thinking about footing.
Expect to move at a pace that matches your group, and expect safety talk before you step onto the real ice. That tone matters. In the reviews, guides like Sam and Lasse are praised not only for knowledge, but for the way they keep the group feeling safe and comfortable.
One practical tip: don’t over-plan photos during the walk to the edge. Put your attention on your footing and your guide’s cues. The best shots come once you’re stable and the group stops.
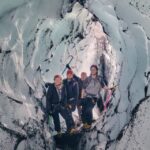
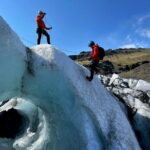
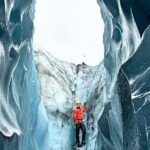
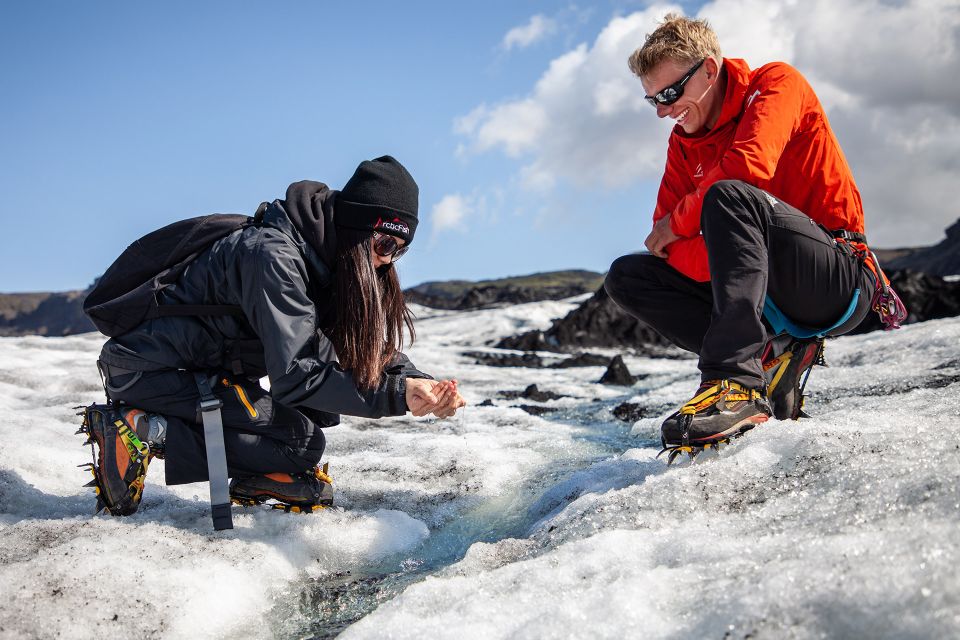
On the glacier: crevasses, ridges, and moulins you can actually see
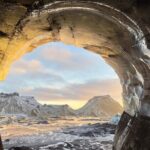
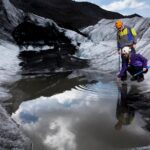
Once you’re on the ice, the tour becomes about details. You’ll step into a world of bright blue crevasses, towering ice ridges, and deep moulins. These features aren’t just scenery—they’re the glacier’s working parts.
Glaciers move and melt, and that motion creates cracks and channels over time. The guide explains how the landscape changes and what climate change is doing to glaciers in general. That education fits naturally with what you’re looking at: you’ll see why those crevasses form, and you’ll understand why an ice hole isn’t random—it’s part of the glacier’s flow and melt process.
If you’re hoping for a wow moment, look for the kind of view people mention most: the ice “hole” or an ice feature that feels like a tunnel. One highlight called out is seeing a glacial tunnel, and another is looking down into an ice opening. You might get similar close-up views depending on conditions and where your route takes you, but the tour is clearly built around getting near these dramatic formations.
Picking your hike option: family walk vs classic hike vs longer trek
You can choose how far you go on the glacier. The experience offers multiple levels, from a family-friendly walk to a more involved trek with more time on the ice.
Here’s how I’d think about choosing:
- If you want a first-time glacier experience, choose the shorter, family-friendly option. It keeps the experience approachable while still getting you onto the ice with the right gear.
- If you want a classic “wow” mix of walking and learning, pick the standard glacier hike option. This is a good match for most visitors who want time to see features without turning it into a full day.
- If you’re confident on your feet and want more glacier time, go for the longer, more adventurous trek. Reviews mention that guides sometimes manage extra time at the glacier when possible, which is the kind of bonus you might hope for on longer routes.
The tour duration is listed as 2.5 to 4 hours, so your choice should match how much time you have in the south—and how you want the hike to feel: brisk and focused, or longer and more exploratory.
You can also read our reviews of more hiking tours in Vik
A realistic view of difficulty: not technical, but it’s still the ice
This is not described as a strenuous mountain climb, and one review specifically calls it a beginners-friendly introduction. Still, you’re walking on ice with crampons and dealing with cold, uneven ground, and changing light.
So I’d frame it like this: you don’t need climbing experience, but you do need to respect the rules. Safety checks, anchor points (mentioned in one review as a consideration), and guide instructions matter. The good news is that guides are repeatedly praised for confident leadership and humor that keeps stress low.
If you’re traveling with kids or older folks, the family-friendly option is your best move. If you want a more “serious” feeling, choose the longer trek and be honest about your comfort level on uneven terrain.
The value of the $115 price: what you’re really paying for
At $115 per person, this isn’t a cheap activity—but it also isn’t you renting gear and wandering around alone. Your price covers the parts that matter most on a glacier: an experienced guide, glacier gear, and safety equipment.
It also includes tea, coffee, and water, plus access to restrooms at Sólheimajökull. That’s not a small thing in Iceland. It can save you time and stress, especially when weather changes your schedule.
Food is not included, so plan a meal before or after. I like that the hike stays focused: you’re not stuck with a long included lunch that stretches your day. Just bring snacks if you need them.
In short: you’re paying for safer access to the glacier and for a guide who can turn ice features into something understandable, not just a photo stop.
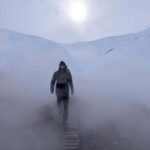
Timing, weather, and what to wear so you don’t suffer
Rain gear and hiking boots can be rented on site, but I still recommend showing up prepared. Iceland weather can change quickly, and the glacier air can feel colder than you expect even in daylight.
Wear warm layers, use proper waterproof outerwear, and plan for damp conditions. Your guide will handle the glacier side of things, but you’re the one managing comfort and traction.
One small practical note: bring clothing that you can move in without overheating, plus something that blocks wind. Your goal isn’t to look good in photos—it’s to stay comfortable enough to enjoy the ice features up close.
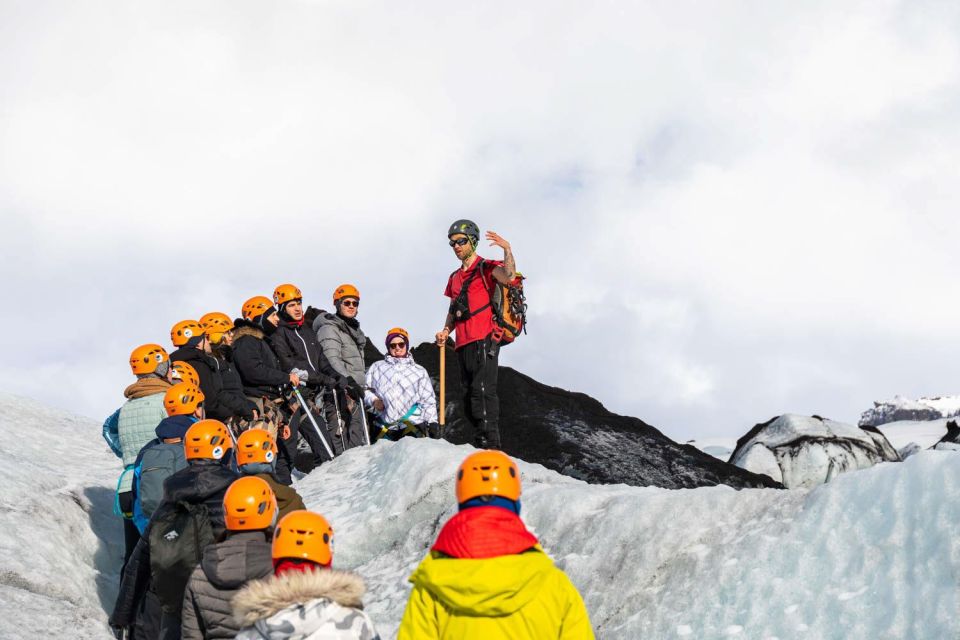
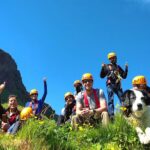
Small group dynamics: why up to 12 matters on the ice
With a small group limited to 12 participants, you’re not fighting for space when conditions get tricky. On a glacier, footing and attention are everything. A smaller group means your guide can correct positioning quickly and keep the route smooth.
This is also where guide charisma helps. Reviews repeatedly mention guides like Jon, Javier, Stefen, Denis Rosa, and Sophia being friendly, funny, and calm while still being strict about safety. That combination tends to make a huge difference: you feel confident walking in a place that’s inherently unpredictable.
And if you’re traveling as a couple or with just a few friends, the tour can feel even more personal. One review mentions a two-person situation with a charming, funny guide—so small group setups can create a more tailored experience.
Who should book this Sólheimajökull hike
I’d book this if you want:
- A real glacier hike with gear and safety handled for you
- A guided walk that explains crevasses, ridges, and moulins
- An option that fits first-timers (family walk) and confident walkers (longer trek)
- A half-day plan that starts from Vik and doesn’t eat your entire schedule
You might reconsider if:
- You hate cold weather and aren’t willing to wear warm layers
- You’re looking for a guaranteed easy, walk-and-done experience with no safety briefing (there will be instructions)
- You expect food included (it isn’t)
Guides you’ll remember: clarity, confidence, and humor on the ice
One of the best signals for this tour is how often guides are named in positive feedback. People mention Ellie’s skill and confidence, Sam’s friendly instructions and humor, Lasse’s fun leadership, and Jon’s mature, knowledgeable, and fun approach. Others call out Sophia and Denis Rosa for making glacier learning feel clear and enjoyable, not stiff.
That’s not just personality. When guides communicate well, you feel safe and you move better. And when you move better, you see more.
Should you book this Sólheimajökull Glacier Hike?
If you’re visiting southern Iceland and you want a glacier experience that feels safe, guided, and worth the time, I’d say yes. The included gear, the small group size, and the focus on ice features like crevasses and moulins make this more than a scenic stop.
Pick the hike option that matches your group’s comfort level, pack warm and waterproof layers, and plan to eat before or after since food isn’t included. Do those things, and you’ll walk away with that rare feeling: you didn’t just look at a glacier—you understood it.
FAQ
How long is the Sólheimajökull guided glacier hike?
The duration is listed as 2.5 to 4 hours, depending on the option you book and starting times.
Where does the tour start?
You’ll meet at a basecamp by Sólheimajökull Glacier. The exact meeting point may vary depending on the option booked.
How far is the meeting point from Vik?
The meeting point is located about a 25-minute drive from Vik.
What’s included in the price?
The tour includes an experienced qualified guide, glacier gear, safety equipment, and tea, coffee, and water. You also have access to restrooms at Sólheimajökull.
Is food included?
No. Food is not included.
What language is the tour guide?
The live tour guide provides English.
How big are the groups?
The group is limited to 12 participants.
What do I need to bring?
Bring warm clothing, hiking shoes, and rain gear.
Can I rent rain gear or hiking boots?
Rain gear and hiking boots can be rented on site.
Is there free cancellation?
Yes, you can cancel up to 24 hours in advance for a full refund.
Can I reserve now and pay later?
Yes. You can reserve your spot and pay nothing today.