REVIEW · VIK
Glacier Hike at Sólheimajökull Shared Experience
Book on Viator →Operated by David The Guide · Bookable on Viator
Crampons make Iceland feel close. This guided Sólheimajökull glacier hike gives you the real deal: harness, helmet, crampons, and an ice axe plus a certified guide leading the way on accessible ice slopes. I love how the tour mixes safety with a proper adventure, and I love the way guides like Kamila and Agnes help you find the best ice formations and photo spots as you go.
One thing to consider: glacier conditions and weather can change fast, and you may need to stay alert around your meet-up time in weather-dependent Iceland. Also, private transportation and snacks are not included, so you’ll want to handle your own driving and bring a plan for food after.
In This Review
- Key things to know
- Sólheimajökull Glacier Hike: The Big Idea
- From Base Camp to Crampons: How the Tour Starts
- The 3-Hour Walk That Feels Like Another Planet
- What to Wear in Iceland Ice Country
- Your Guide Matters: What You Get From David the Guide
- Small-Group Reality and Pace Tips
- Price and Value for a $120 Adventure
- Should You Book This Glacier Hike in Vik?
- FAQ
- How long is the glacier hike at Sólheimajökull?
- What’s included in the $120 price?
- What should I bring with me?
- Where do we meet for the tour?
- Is the tour suitable for children?
- What happens if weather cancels the tour?
Key things to know
- Crampons, helmet, and ice axe are included, so you can travel lighter
- Small groups (max 15) make it easier to keep everyone moving safely
- You’ll hike for about 3 hours, with gear checks and a guide-led route
- You must bring hiking boots and gloves, because ice boots are not the same as everyday shoes
- Guides tailor to the group, including where you spend time looking at ice features
- Weather can force changes, so build in flexibility near Vik
Sólheimajökull Glacier Hike: The Big Idea
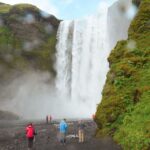
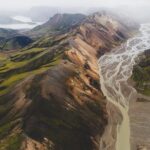
If you’ve ever seen glacier photos and wondered what it would feel like to actually walk on that ice, this Sólheimajökull hike is one of the most straightforward ways to do it. The glacier is close to Vik, and the route is designed for first-timers who still want the thrill of being on real ice.
The big attraction here is not just the scenery. It’s the combination of equipment and instruction. You’re not just walking; you’re learning how to move on glacier ground, with a guide managing the route and safety so you can focus on the moment.
This is also a good choice if you want something active without committing to a full day. The tour clocks in at about 3 hours, which fits nicely into a Vik-based itinerary.
You can also read our reviews of more hiking tours in Vik
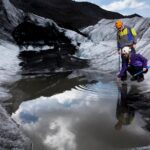
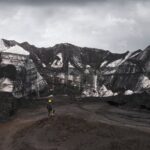
From Base Camp to Crampons: How the Tour Starts
Your tour begins at the base camp at the foot of Sólheimajökull. That’s where the experience shifts from viewing the glacier to being part of it.
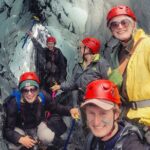
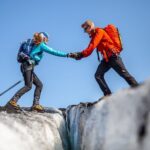
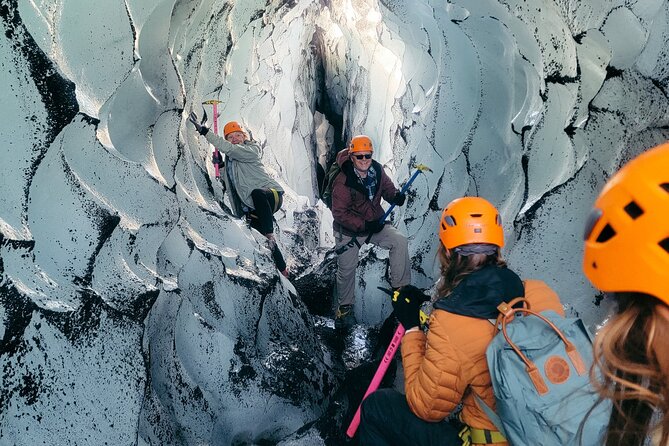
First comes the gear. You’ll be fitted with a harness, helmet, and crampons, and you’ll be shown how to use an ice axe as part of glacier hiking technique. Then the certified guide gives a briefing on the route and what to expect on the ice surface. It’s the kind of setup that matters because glacier walking is its own skill set, even when the slopes are “accessible.”
Guides on this tour also tend to be chatty in a useful way. You’ll have time to ask questions about life in Iceland and what you’re seeing on the ice. And yes, you’ll get help with photos at scenic stops, which is a small detail that can seriously improve your results—because ice and angles don’t love autofocus.
One practical note from the way operations run: dress for the day you’ll actually hike, not the day you booked. Even when conditions are fine, you’ll likely be cold and windy near the glacier.
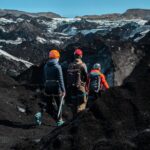
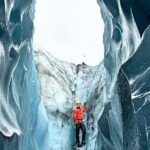
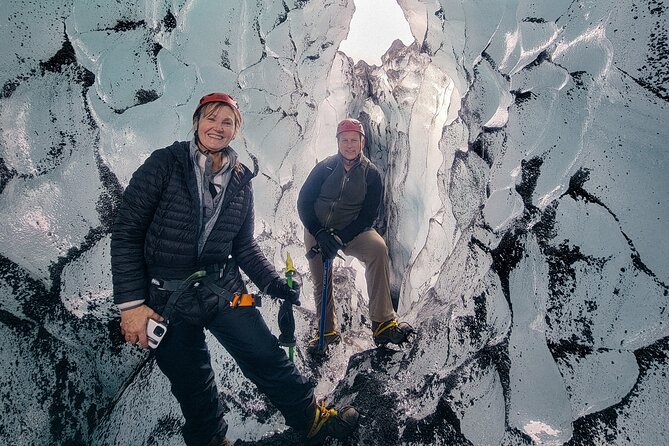
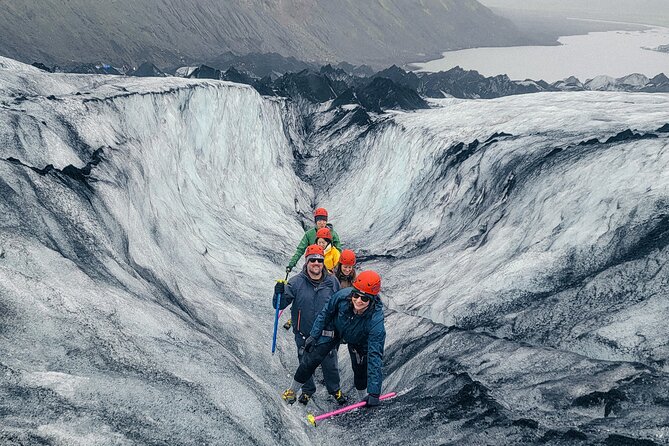
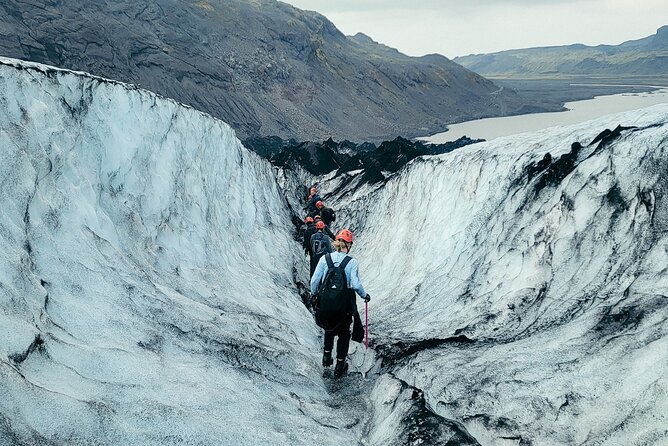
The 3-Hour Walk That Feels Like Another Planet
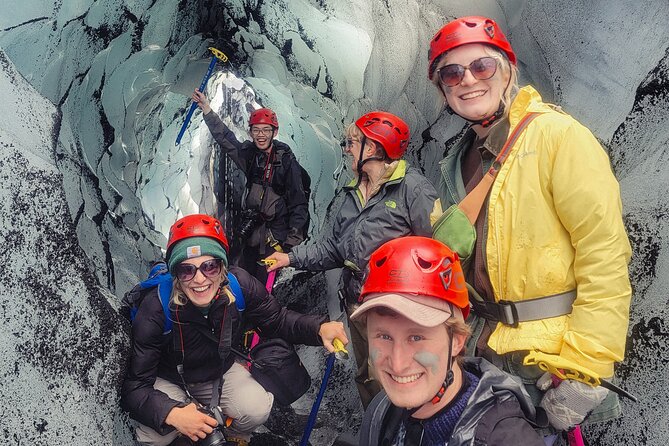
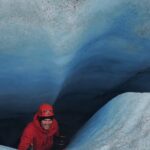
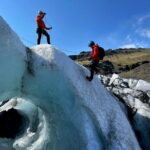
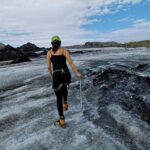
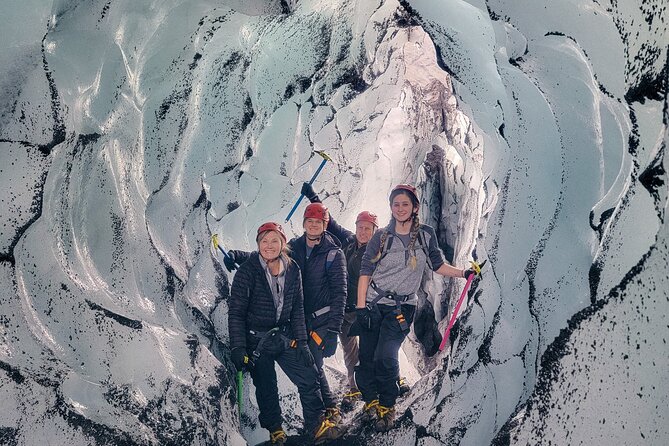
The core experience is a guided hike over Sólheimajökull’s ice, with enough time to reach higher points safely and still enjoy the views along the way. You’ll spend the walk moving across glacier terrain, then pausing to look closely at the formations around you.
What makes this hike feel special is how fast the glacier turns into more than scenery. As you walk, you start noticing details like texture changes and ice features that don’t look real from the road. The guide’s job is to point you to the interesting parts without rushing you through them.
Pacing can vary a bit depending on the group. Even with a small max of 15 people, some guests move faster and some need more time. The good news is that guides like Kamila have shown they can tailor the experience to different comfort levels, including choosing safer routes to specific features and adjusting where you spend time.
Also, plan on the walk having a real effort to it. You’ll be on ice with crampons on your feet, and that takes balance and concentration. The physical fitness requirement is labeled as moderate, but the “moderate” part still means you should be comfortable hiking outdoors for a few hours.
What to Wear in Iceland Ice Country
This is the simplest place to win points before you even arrive. The tour asks you to come with hiking boots and gloves. Do not treat this as a suggestion.
Bring hiking boots with good traction, not smooth-soled shoes. Crampons will grip the ice, but your boot still needs to fit well and support your ankles. For gloves, pick ones that keep your fingers warm enough that you can still handle the ice axe movement comfortably and safely.
Layering matters. Even in milder months, temperatures around glaciers can feel harsher than you expect. One tip that comes up often: in May, it can be pretty warm, but that doesn’t mean it’s warm at glacier height or in wind. Dress like you’re going outside for hours with wind exposure.
If you tend to run cold, bring extra layers (and spare socks if you have space). If you run hot, avoid bulky cotton layers that trap moisture. The goal is steady comfort while you hike and stand still for gear adjustments and photos.
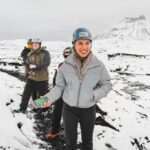
Your Guide Matters: What You Get From David the Guide
This is a guided experience first and a photo stop second. The guide is responsible for fitting your gear, briefing the route, and keeping the group moving safely across glacier terrain.
The provider is David the Guide, and the operation runs with a team of guides, not just a single person. That matters because it’s the difference between one guide handling everything versus a group of guides sharing knowledge and planning. In practice, it can show up as more consistent instruction and a smoother tour flow.
The names you might meet include guides such as Kamila, Agnes, Steinar, Susana, and Magdelana (and yes, you may hear team references to David as the guiding brand). Across those different guides, the pattern is clear: they don’t just lead you; they explain what you’re seeing and help you get the best out of the hike.
One thing I really like about this setup is the “questions welcome” vibe. You’re not stuck silent while someone talks at you. You can ask about glacier ice, Iceland life, or what the route is doing and why.
You should also expect that guides will help you take photos at picturesque spots. On glaciers, that’s not a luxury—it’s practical—because you want your photos without losing time or safety while people scramble for good angles.
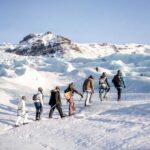


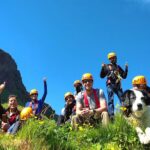
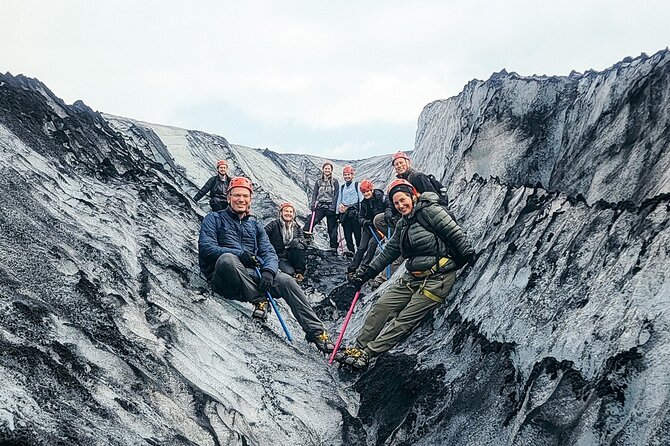
Small-Group Reality and Pace Tips
The tour caps the group at 15 travelers, and that size has real advantages. Smaller groups usually mean less waiting at gear checks and less crowding during stops. You also get more attention from the guide, which helps if you’re new to crampons or you’re unsure about your balance.
Still, group hiking is hiking. If you’re comfortable moving fast, you’ll likely enjoy the chance to climb higher and spend time on the ice features. If you prefer a slower pace, say so early in the briefing. A good guide can usually keep you in the safest, most comfortable part of the route plan without turning the trip into a race.
One “fit” issue to plan for: this tour is not suggested for children under 12, and it’s built for people with at least moderate physical fitness. If you’re pregnant, the tour data suggests checking with your doctor before booking. That’s not bureaucracy—it’s smart risk management in a cold, slippery environment.
Also, be aware that weather can change the route plan. If conditions force adjustments, you’ll want a day mindset that can handle a change without spiraling. In glacier country, flexibility is part of the skill set.
Price and Value for a $120 Adventure
At $120 per person for about 3 hours, the big value question is what you’re paying for. Here you’re not just buying a ticket. You’re paying for specialized gear (crampons, ice axe, helmet) and a certified guide guiding you over glacier terrain.
That’s why I think the price can feel fair. Renting or sourcing the right equipment on your own would be more hassle, and you’d still be missing the safety expertise that keeps the hike fun instead of scary. This is one of those tours where the equipment list is part of the product.
What’s not included is also worth noting. Snacks are not included, and private transportation is not included. So budget time and food before/after your hike, and plan how you’re getting to the start point.
If you’re doing a Vik-based trip, that’s usually manageable. But if you’re relying on others for rides, you’ll want to line that up early so you’re not rushing in cold weather.
Should You Book This Glacier Hike in Vik?
I’d book this hike if you want a real glacier experience without complicated logistics. It’s designed for first-timers and it uses the right tools—crampons, ice axe, helmet, and a certified guide—so you’re not improvising on ice.
You should also book it if you like learning while doing. The guide time to answer questions, explain what you’re seeing, and help with photos makes the hike feel like more than a walk in the cold. And with max 15 people, you should still feel connected to the experience instead of swallowed by a crowd.
Skip or rethink if you don’t feel confident with outdoor hiking for a few hours, if you can’t handle cold/wind exposure, or if your doctor has concerns (especially if pregnant). And be honest with yourself about weather days: glacier tours depend on conditions, and the glacier doesn’t care about your calendar.
If you’re ready to plan with a little flexibility and bring the right gear from day one, this is one of the better value “I walked on a glacier” experiences in the Vik area.
FAQ
How long is the glacier hike at Sólheimajökull?
The tour lasts about 3 hours (approx.), and it ends back at the same meeting point.
What’s included in the $120 price?
Your ticket includes a certified guide plus glacier hiking gear: crampons, an ice axe, and a helmet.
What should I bring with me?
Bring hiking boots and gloves. The tour data also notes a moderate physical fitness level is required.
Where do we meet for the tour?
The meeting point is Sólheimajökull, 871, Iceland. The activity ends back at the meeting point.
Is the tour suitable for children?
It is not suggested for children under 12.
What happens if weather cancels the tour?
This experience requires good weather. If it’s canceled due to poor weather, you’ll be offered a different date or a full refund. You can also cancel up to 24 hours in advance for a full refund.