REVIEW · REYKJAVIK
Sólheimajökull Ice Climbing Tour
Book on GetYourGuide →Operated by north ice · Bookable on GetYourGuide
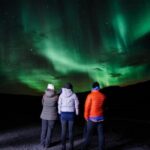
Ice cracks under your boots.
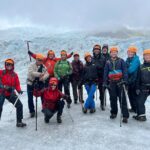
Sólheimajökull is one of the closest glaciers to Reykjavík, and this 4-hour tour turns a long day into real glacier time on Sólheimajökull itself—plus south-coast scenery. I especially like the small-group format (max 5), because your guide can slow down, fit the gear right, and explain what to do without rushing you.
I also love how the climbing is built for beginners: you start with an easy ice wall to learn technique, then you move between different climbing spots so you can actually explore the glacier while you practice. The main drawback to plan for: you have to show up ready for cold, wet conditions, and you bring your own warm waterproof clothing, snacks, and drinks.
In This Review
- Key points I’d plan around
- Why Sólheimajökull Ice Climbing Works So Well from Reykjavík
- Getting There: Parking Lot Logistics on Road 221
- Before You Climb: Gear Fit and First Steps on the Glacier
- The Climbing Plan: Easy Ice Wall, Then Multiple Spots (Walls and Ice Holes)
- How “beginner-friendly” feels in real life
- South Coast Bonus: Skógarfoss and Seljalandsfoss in the Same Day
- Price and Value: What $294 Gets You (and Why It’s Not Just a “Tour Fee”)
- What to Bring for a Comfortable Glacier Day
- Who This Tour Fits Best (and Who Should Skip It)
- Should You Book This Sólheimajökull Ice Climbing Tour?
- FAQ
- How long is the Sólheimajökull ice climbing tour?
- What is included in the price?
- What do I need to bring with me?
- Is this tour beginner-friendly?
- Where is the meeting point?
- Can I cancel for a refund?
Key points I’d plan around
Small group size (5 max) for personal attention
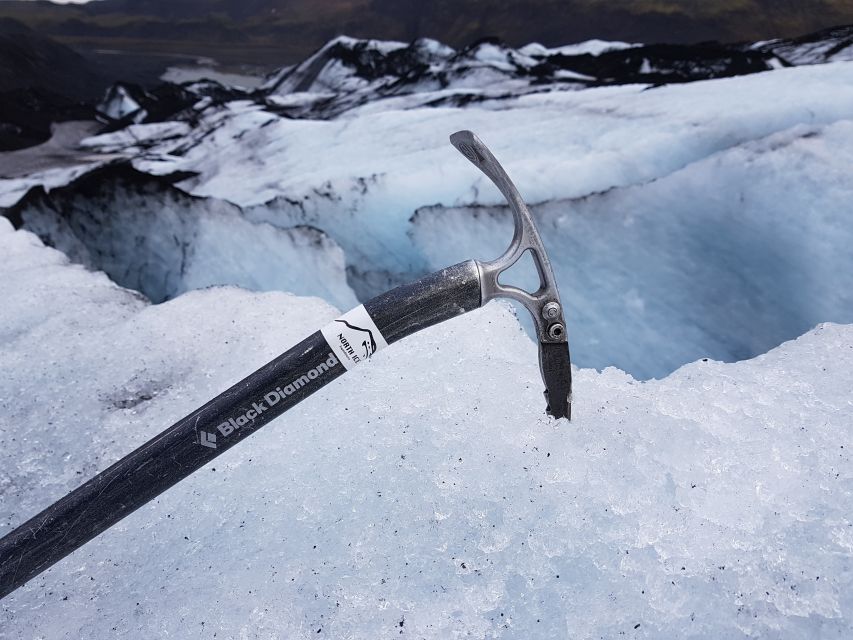
Gear included: crampons, helmet, harness, and ice axe
Beginner progression: easy wall first, then multiple climbs in different spots
You learn basic ice climbing skills and movement on the glacier
South Coast add-ons include stops at Skógarfoss and Seljalandsfoss
Totally doable without being super fit, but you are active for 4 hours
Why Sólheimajökull Ice Climbing Works So Well from Reykjavík
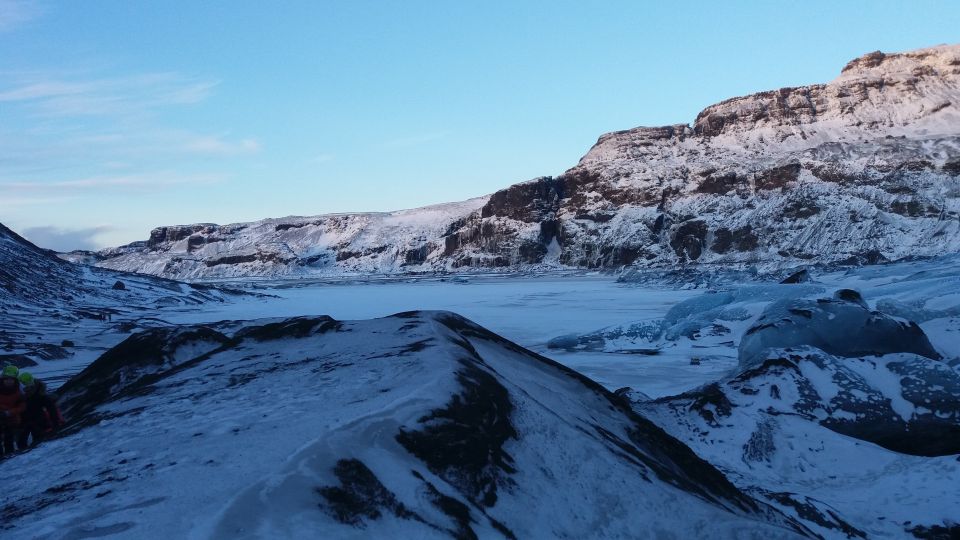
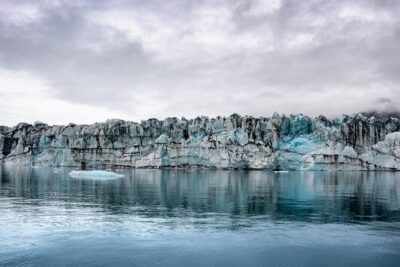
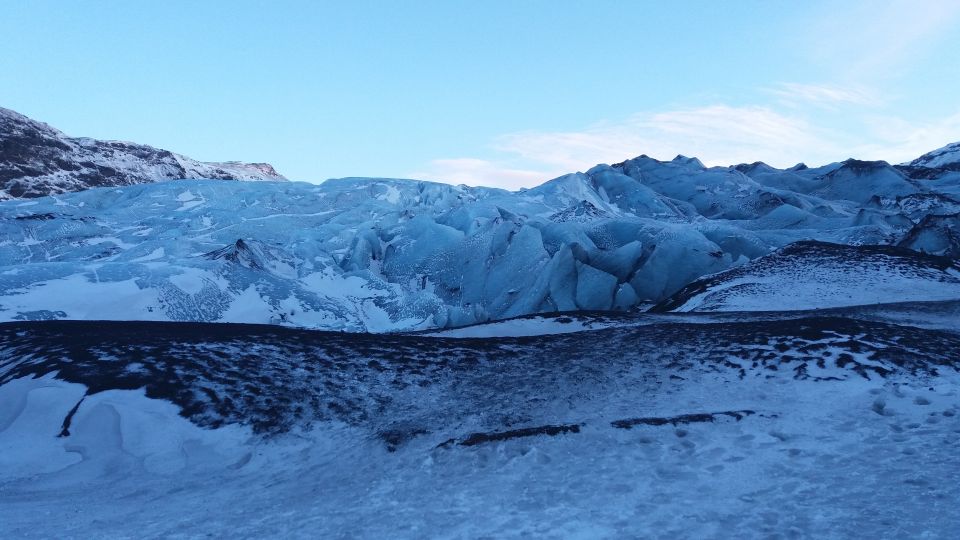
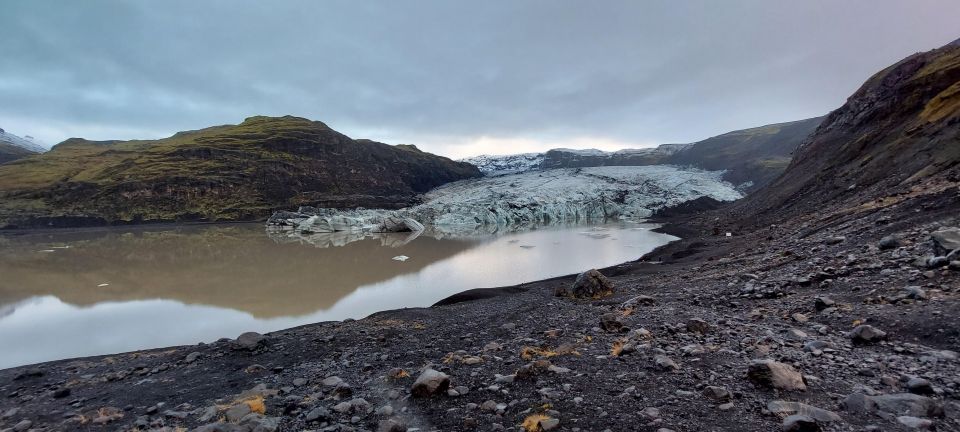
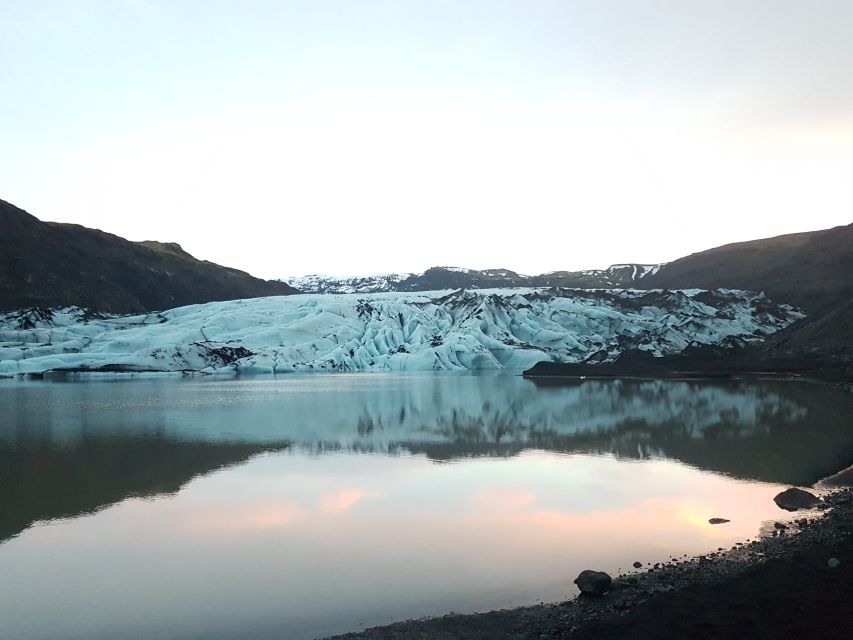
If you want a glacier experience in Iceland that feels hands-on (not just scenic photo stops), this is a strong choice. Sólheimajökull is a smaller outlet glacier from the Mýrdalsjökull ice cap, so it’s reachable for a day trip and makes a natural training ground for first-timers.
What makes this tour feel practical is the way it teaches you. You don’t just “go stand on ice.” You get fitted with the right gear, shown how to use it, and then guided from an easy wall to more varied spots on the glacier. That progression matters because ice climbing isn’t about brute strength—it’s about balance, foot placement, and confidence on crampons.
And yes, weather can be wild. Even when conditions aren’t perfect, the day still has value because you’re doing the real thing: movement on glacier ice, learning technique, and seeing the glacier up close.
You can also read our reviews of more tours and experiences in Reykjavik.

Getting There: Parking Lot Logistics on Road 221
This is not a guided bus-from-Reykjavík situation. You drive yourself to the meeting point. That’s good news if you’re renting a car and like control over your timing.
The route is straightforward:
- Drive east on road 1, passing Hveragerði, Selfoss, Hella, and Hvolsvöllur
- Continue on road 1 over a long single-file bridge
- After the bridge, turn left to road 221
- Keep going to the end and you’ll reach the Sólheimajökull parking lot
Why this matters: the whole day depends on your arrival. Since the tour is timed and the glacier activity is weather-dependent, you’ll want to be early rather than “close enough.” Also, the parking lot is your gear-up location, so you’ll feel better if you’re not rushing into cold clothing on arrival.
Before You Climb: Gear Fit and First Steps on the Glacier
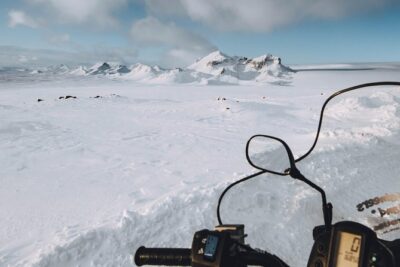
Your tour starts at the Sólheimajökull parking lot, where you’re provided with the climbing gear: harness, crampons, helmet, and ice axe. You’ll then hike about 15 minutes on gravel to reach the glacier base.
That short hike is more than a warm-up. It helps you get used to walking with the day’s gear and getting from regular ground to the glacier environment. You’re also moving as a group, so it’s easier to stay together while your guide checks everyone’s footing and comfort level.
At the base, you get the key lesson: how to put on and use the equipment. For a beginner tour, this is the moment that makes or breaks the experience. A good fit prevents frustration later on the ice. A clear explanation prevents you from second-guessing every move. The tone from guides like Bergur is often patient and structured, and that shows in how people describe feeling safe while learning.
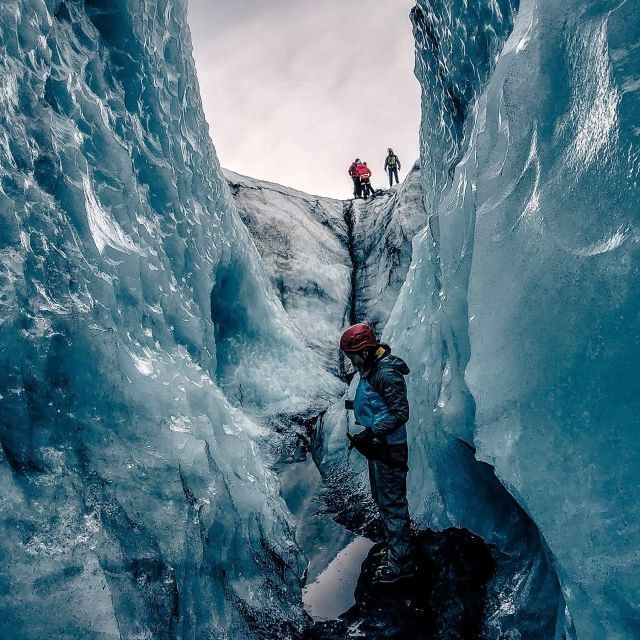
The Climbing Plan: Easy Ice Wall, Then Multiple Spots (Walls and Ice Holes)
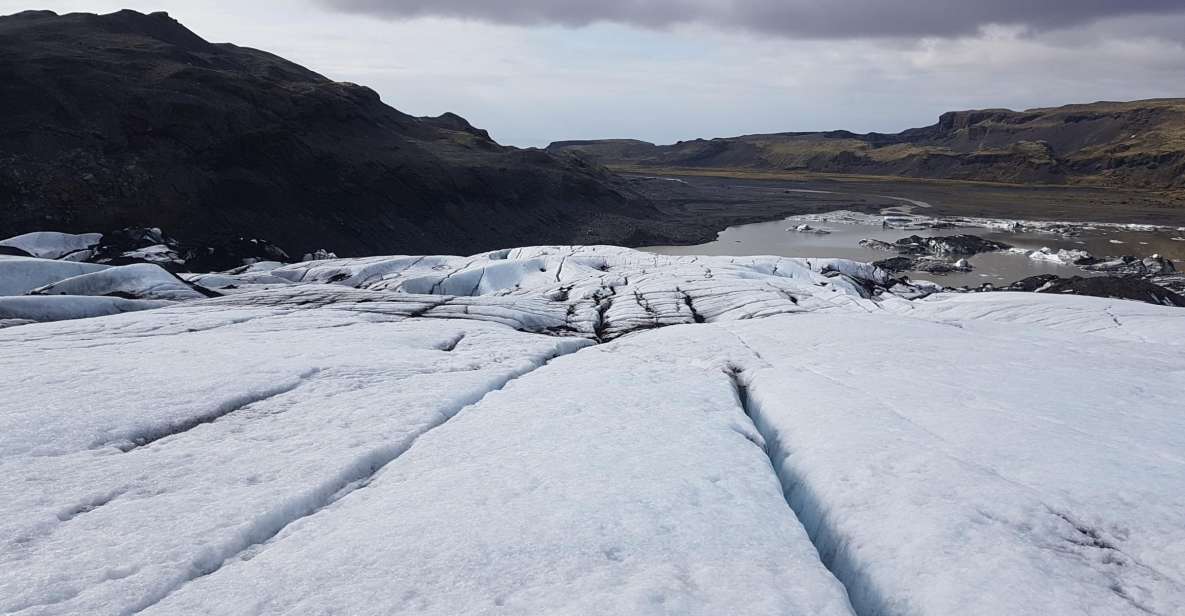
Once you’re on the glacier, you start with an easy ice wall to learn basic ice climbing skills and techniques. This is the best place to begin because it’s controlled and lets you practice the basic motions before you tackle anything steeper or more exposed.
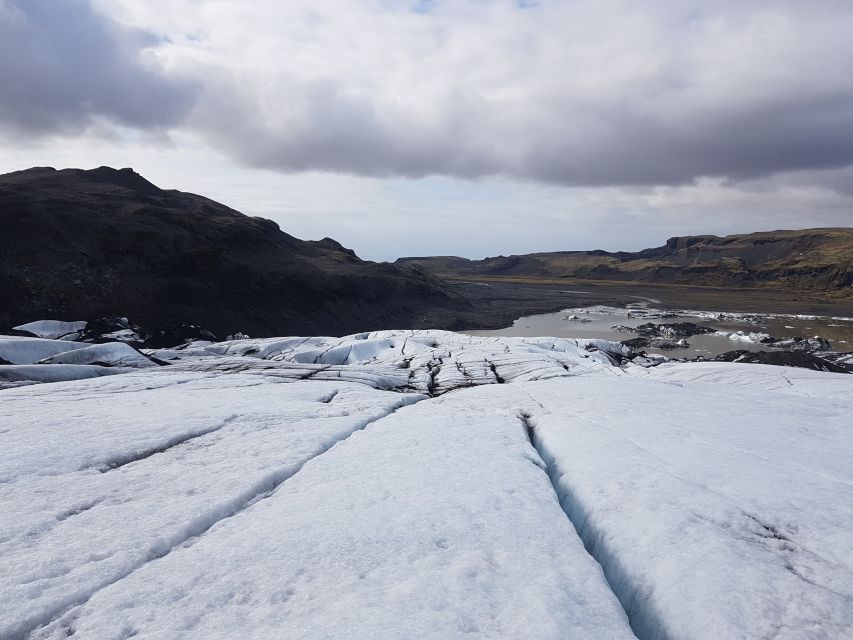
Then comes the part I think you’ll like most: you walk between climbing spots. That means the tour isn’t one long, repetitive climb. Instead, you get short climbing efforts in 2–3 different locations, with time to move and reset.
You’ll likely do:
- A nice wall climb (a solid surface where technique matters)
- An ice-hole option (called a múlan) where you can climb down and back up
What this means for you: if you’re learning, you’ll get a few chances to apply what you just practiced rather than doing one attempt and calling it. It also means the day stays interesting—new spots, new angles, and constantly changing ice conditions.
One detail that comes up often in these kinds of tours is how the glacier itself changes. The guide chooses climb locations that match your level and the ice conditions that day. That flexibility is a real value because it keeps the activity safe while still feeling like you’re doing more than the minimum.
How “beginner-friendly” feels in real life
You don’t need previous ice skills, and you don’t need to be a fitness machine. The tour is designed so you can enjoy it without being super fit. Still, you should expect active movement on uneven ice and short climbing efforts. This is adventure work, just not technical training for experts.
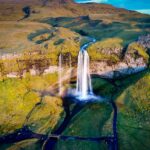
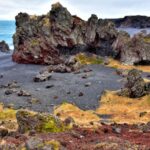
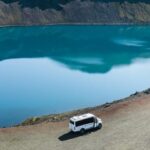
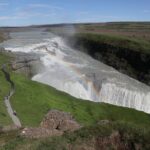
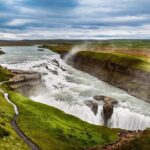
South Coast Bonus: Skógarfoss and Seljalandsfoss in the Same Day
You’re not spending the entire day sealed inside the glacier zone. The tour is also positioned as a day trip that includes Skógarfoss and Seljalandsfoss waterfalls.
Why that’s valuable: it turns your day into more than one activity. You’ll get a mix of Iceland’s classic dramatic water views and an ice-climbing experience that feels more hands-on and unusual than the typical waterfall-and-return route.
The main thing to keep in mind is timing and weather. Waterfalls are easier to enjoy even when it’s cold or windy, but glacier conditions affect when you climb. So treat the waterfalls as part of the day’s flow, not a guaranteed “minute-by-minute” visit.
Price and Value: What $294 Gets You (and Why It’s Not Just a “Tour Fee”)
At $294 per person for about 4 hours, you’re paying for three things that usually cost extra if you DIY:
- Professional local guidance by trained mountain/ice guides
- Safety gear (harness, crampons, helmet, ice axe)
- Instruction so you know how to use the equipment on real ice
If you’ve ever priced gear rental and safety instruction separately in outdoor sports, you’ll see why this price structure makes sense. It’s not only the glacier time—it’s also the gear and teaching that lets you actually do the climbing safely.
The small group limit (5 participants) also affects value. When the group is small, your guide can spend more time checking fit and technique and adjusting the climbing spots to match your comfort.
Is it “cheap”? No. But for Iceland activities, it’s priced like a specialized skill experience, not a casual sightseeing stroll. And the gear being included is a big part of the math.
What to Bring for a Comfortable Glacier Day
Cold and wet are part of the deal. The tour does not include waterproof jacket or trousers, and it doesn’t include hat or gloves, so don’t assume you’re covered.
Bring:
- A warm, waterproof jacket
- Waterproof trousers
- Hat and gloves
- Food or snacks (recommended)
- Water or other drinks (not included)
I’d also think about layering. Even if the air feels fine at the parking lot, glacier conditions can change fast. You’ll appreciate having layers you can adjust once you’re hiking and once you stop to gear up.
If you’re going with kids or teens, gear comfort matters even more. The better everyone’s dressed, the easier it is for the guide to teach and keep the group moving.
Who This Tour Fits Best (and Who Should Skip It)
This works best for people who want a real glacier experience without needing expert skills. The tour is aimed at beginners and is described as an introduction-level activity.
It’s also a good fit if you want:
- A hands-on activity that feels unique
- A guided learning format (gear fitting + technique instruction)
- A small group where you can get personal attention
It may not be the best fit if:
- You are pregnant (explicitly listed as not suitable)
Fitness-wise, you don’t need to be “super fit,” but you should be comfortable with walking, standing in cold conditions, and doing short climbing attempts on ice. If you can handle a brisk hike and you dress properly, you’ll likely be in the right zone.
Should You Book This Sólheimajökull Ice Climbing Tour?
Book it if you want the kind of day where you learn a real outdoors skill and leave with more than photos. The beginner progression—easy wall first, then multiple climbing spots including a múlan option—is a smart way to keep the experience fun while still teaching you enough to feel capable. Add in included safety gear and a max-5 group, and it’s good value for what you get.
I’d pass if you hate cold/wet weather or if you don’t want to be physically active for a few hours. Also, don’t assume standard winter clothing is enough—bring true waterproof layers and your own hat and gloves.
If you’re on the fence, here’s the deciding question: do you want to try something genuinely Iceland, not just see it? If yes, this is one of the better ways to do it.
FAQ
How long is the Sólheimajökull ice climbing tour?
The tour lasts 4 hours.
What is included in the price?
The tour includes glacier gear (harness, crampons, helmet, and ice axe) and a local guide.
What do I need to bring with me?
You should bring warm waterproof clothing (waterproof jacket and trousers), plus a hat and gloves. It’s also recommended to bring lunch or snacks and food/drink since those aren’t included.
Is this tour beginner-friendly?
Yes. It’s described as an introduction-level ice climbing experience, and no special skills are needed.
Where is the meeting point?
You meet at the Sólheimajökull parking lot. You drive east on road 1 past Hveragerði, Selfoss, Hella, and Hvolsvöllur, cross the long single-file bridge, then turn left onto road 221 and continue to the end.
Can I cancel for a refund?
You have free cancellation up to 24 hours in advance for a full refund.